
Live Edge Wooden Corner Shelf Ideas: What I Learned After My First One Cracked Within a Year
I bought a beautiful live edge wood slab for a corner shelf in my living room, genuinely excited about that natural, organic bark-edge look everyone raves about. I sealed it with whatever clear finish I had on hand and mounted it without much more thought. About eight months later, a visible crack had developed right through the center of the slab, running along one of the natural growth rings.
That crack taught me that live edge wood, especially in a corner application with its own unique installation angles, needs genuinely different preparation and care than standard milled lumber.
Live Edge Wood Behaves Differently Than Standard Milled Lumber
I initially treated my live edge slab the same way I’d treat any regular board, seal it, mount it, done.
Once I understood that live edge wood needed additional preparation beyond standard sealing, my replacement shelf turned out completely differently.
My Mistake: Skipping Proper Kiln Drying and Stabilization
I sourced my replacement slab specifically from a supplier who confirmed proper kiln drying, and had it professionally stabilized with an epoxy fill along one existing natural check before installation. It’s held completely stable for over two years now.
Step-by-Step: Installing a Live Edge Corner Shelf That Actually Lasts
1. Confirm your slab has been properly kiln-dried
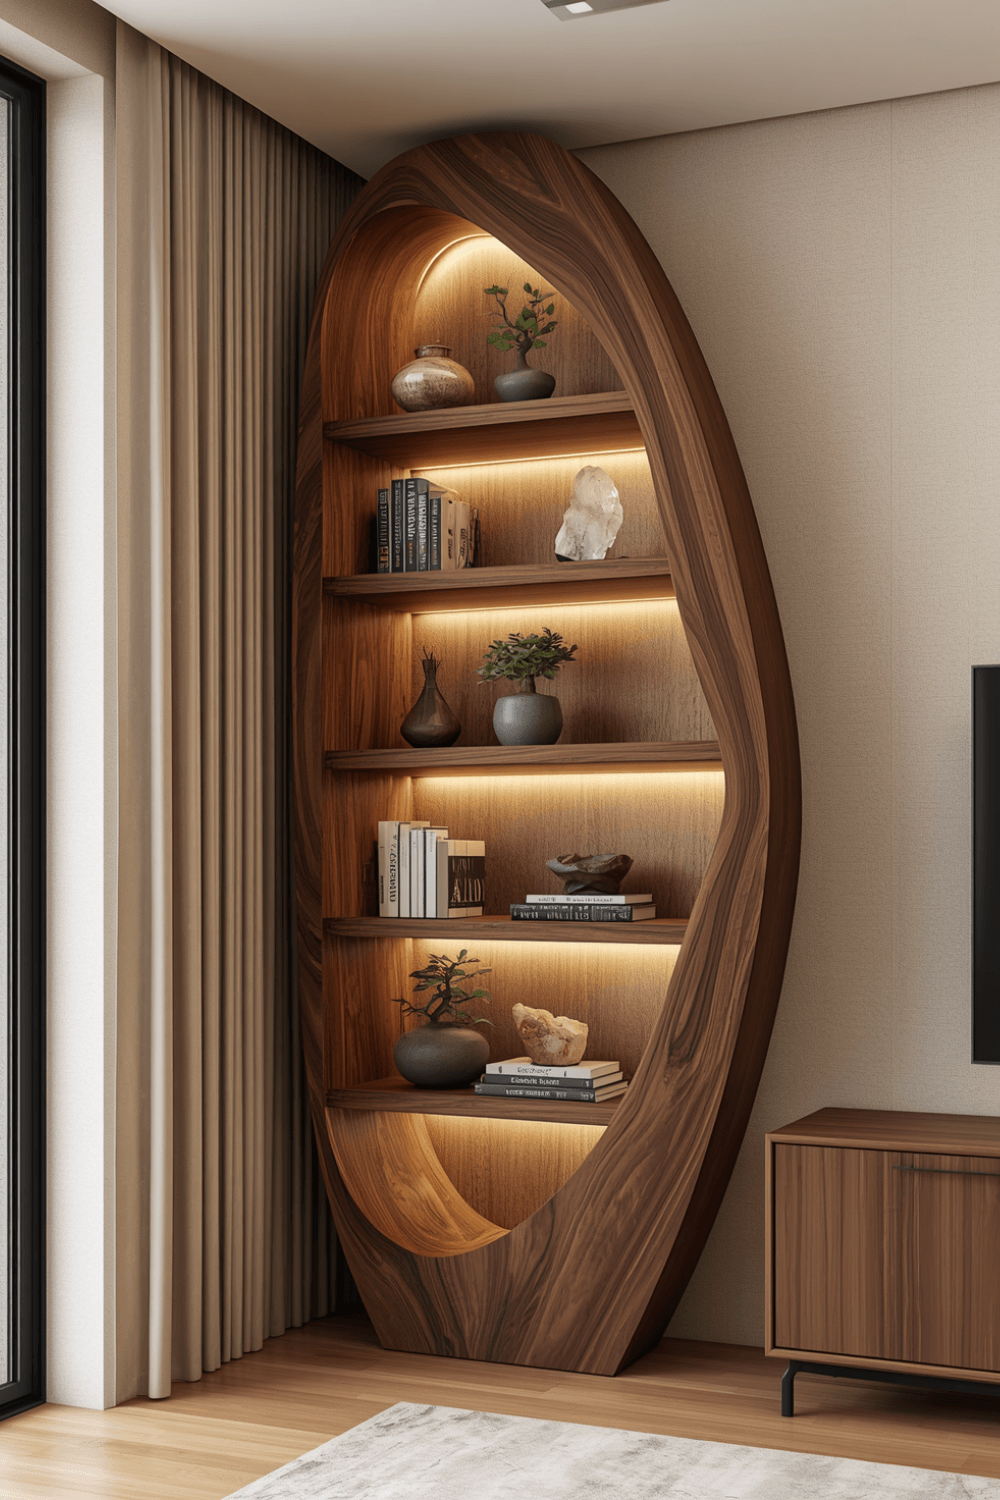
I now specifically ask suppliers about kiln drying and target moisture content before purchasing any live edge slab, rather than assuming “live edge” automatically means ready for interior use. Properly dried wood, generally in the 6 to 8 percent moisture range for interior applications, is dramatically less likely to crack after installation.
2. Fill any existing checks or cracks with epoxy before finishing
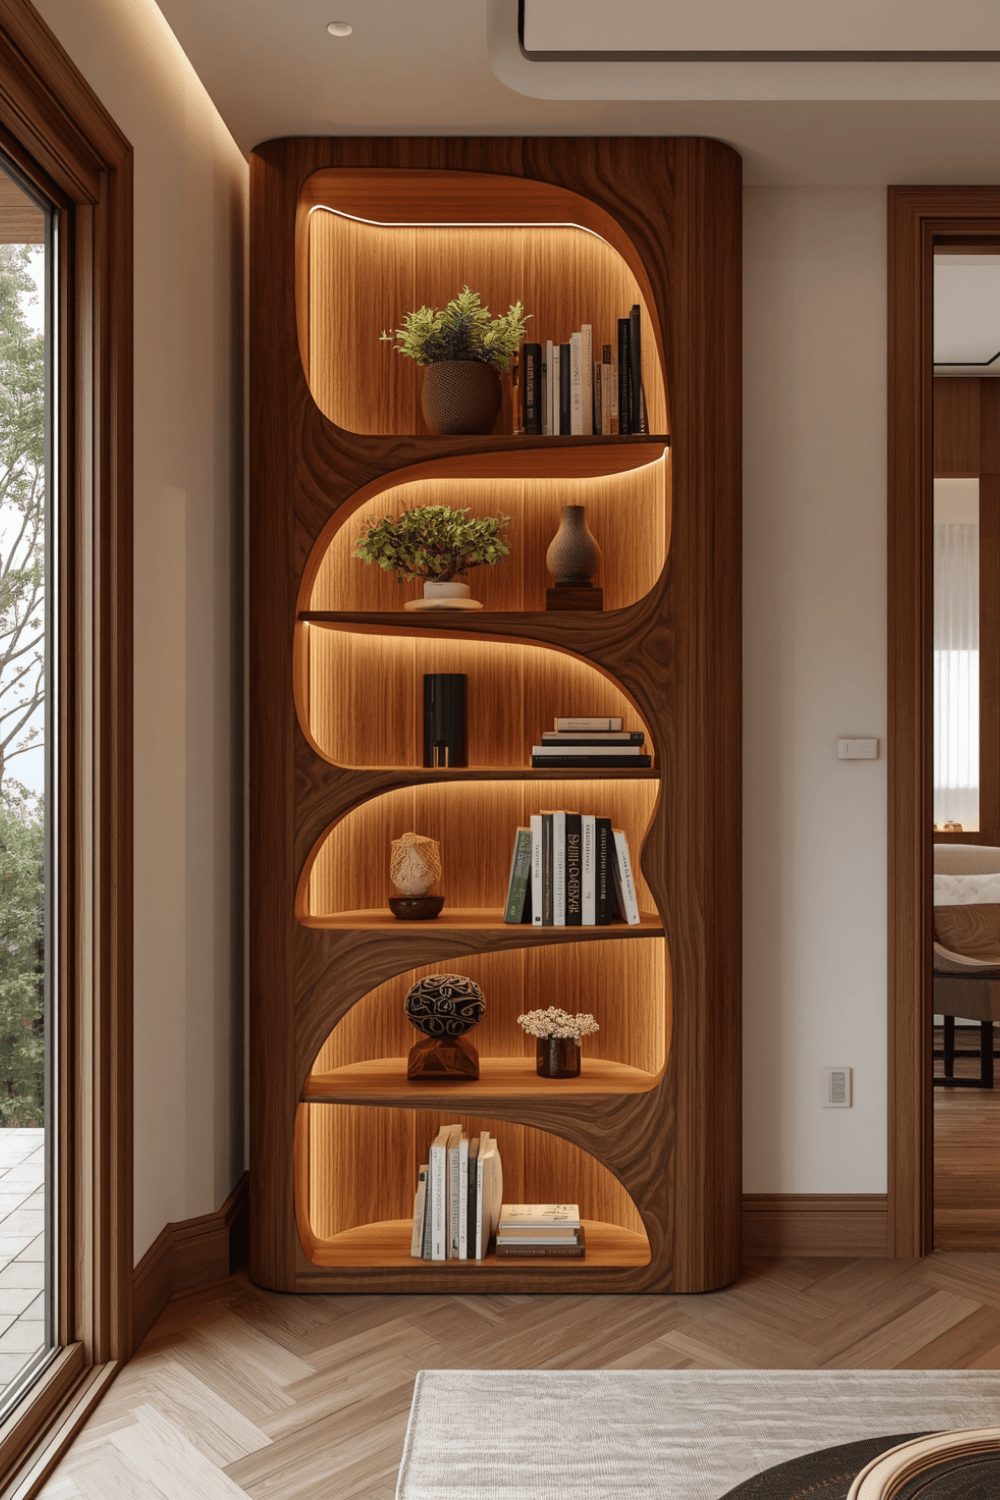
My original slab actually had a small existing check I ignored, assuming it was just part of the natural character. Filling any existing checks with a clear epoxy resin, which I had done professionally on my replacement, stabilizes the wood and prevents that existing weak point from spreading further over time.
3. Use a finish specifically designed for live edge wood
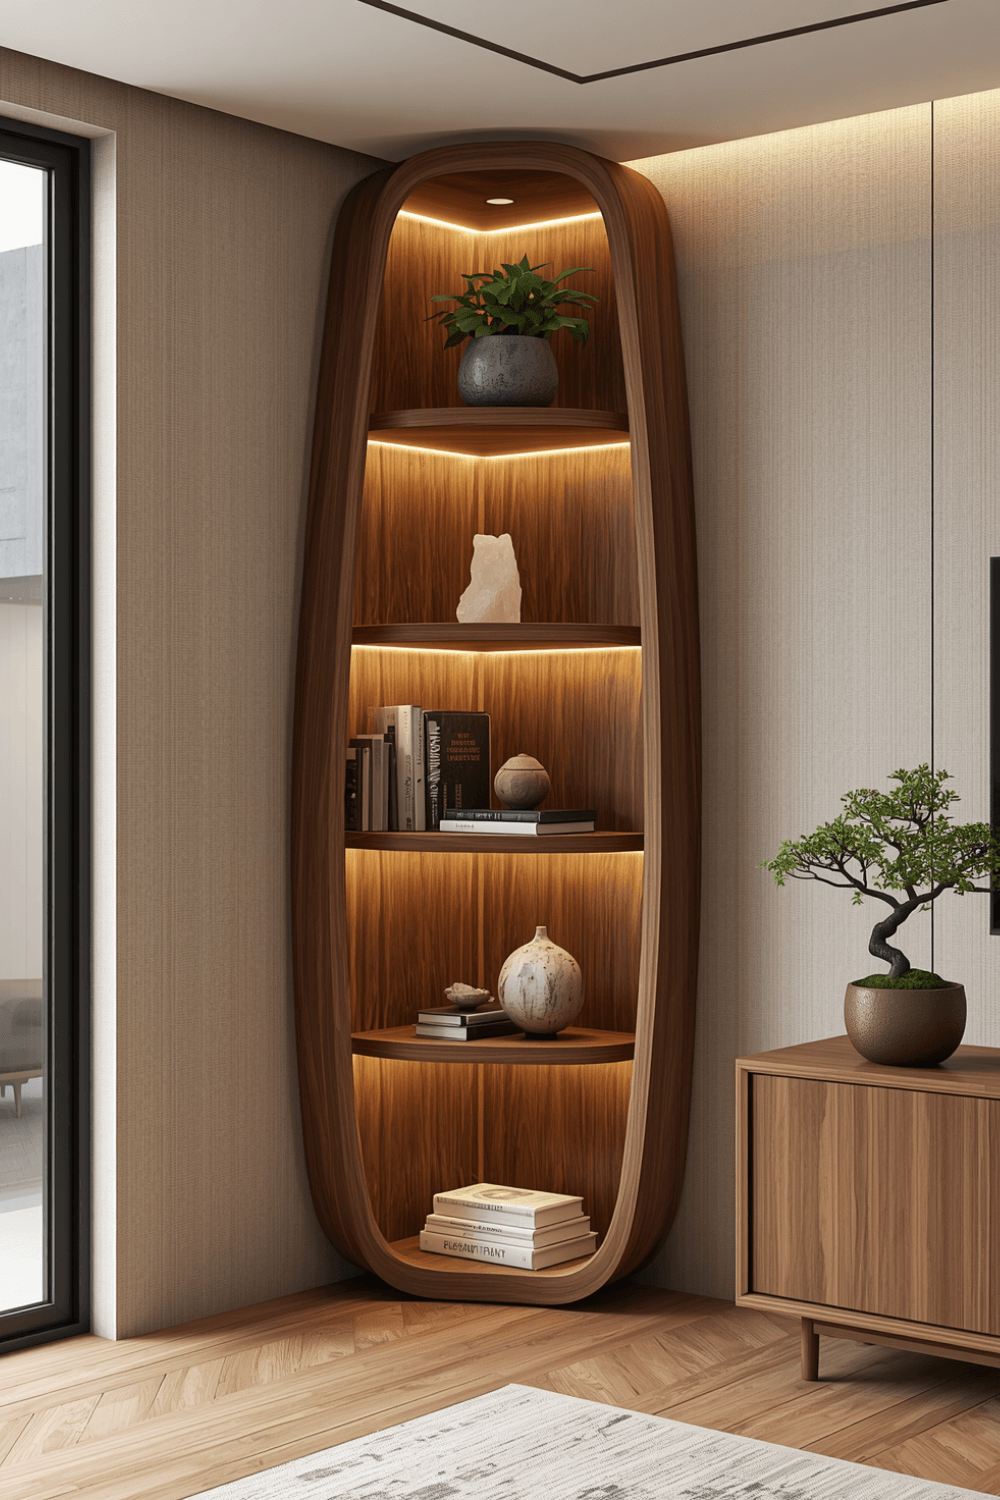
I switched from a basic clear polyurethane to a specific live edge wood finish designed to penetrate and seal the wood’s natural texture, including the bark edge itself if you’re keeping it intact. General-purpose wood finishes don’t always account for the more porous, uneven surface a live edge slab presents.
4. Choose corner brackets rated for your slab’s actual weight
Live edge slabs, especially thicker ones, are often significantly heavier than standard milled shelving of the same dimensions. I upgraded to heavy-duty corner shelf brackets specifically rated for the higher weight, rather than assuming standard hardware would work the same way it does for lighter, uniform lumber.
5. Account for the corner’s specific angle when measuring your slab
I had my replacement slab cut with the corner angle precisely measured beforehand, rather than trying to force a rectangular piece into a corner and dealing with awkward gaps. A properly angled cut fits flush against both walls, which both looks more finished and provides better actual support along the full length of the shelf.
6. Let your slab acclimate to your home’s environment before final installation
I let my replacement slab sit in my actual living room for about two weeks before mounting it permanently, allowing it to adjust to my home’s specific humidity levels first. Wood that’s installed immediately after purchase, without any acclimation period, is more likely to shift or crack as it adjusts post-installation.
7. Keep the bark edge intact only if it’s been properly treated
I kept the natural bark edge on my slab, but only after confirming it had been treated with a bark-preserving product during the stabilization process. Untreated bark can dry out, crack, and eventually fall away from the slab over time, which undermines the whole aesthetic the live edge look is going for.
Real Examples From People I Know
A friend working with a smaller live edge slab for a bathroom corner shelf specifically chose a slab with minimal existing checks, since she knew bathroom humidity fluctuations would put additional stress on the wood. Starting with a more stable piece of wood for that particular high-moisture application avoided problems a less careful slab selection might have caused.
Another friend removed the bark edge entirely on his corner shelf, opting for a smoothed, rounded natural edge instead. It sacrifices some of the raw, rustic look but eliminates the bark-shedding maintenance issue entirely, which he says was worth the tradeoff for a lower-maintenance piece.
Common Mistakes to Avoid
Assuming any slab labeled “live edge” is automatically ready for interior use. Confirming proper kiln drying before purchase genuinely matters for how likely the piece is to crack after installation.
Ignoring existing small checks or cracks in the wood. These weak points tend to spread over time without proper epoxy stabilization addressing them beforehand.
Using a general-purpose wood finish instead of one designed for live edge applications. The uneven, porous surface of live edge wood often needs a finish formulated specifically for that texture.
Using standard shelf brackets not rated for a heavier live edge slab’s actual weight. Live edge pieces are frequently heavier than equivalent milled lumber and need hardware to match.
Installing a slab immediately without any acclimation period. Letting the wood adjust to your home’s specific humidity first reduces the risk of post-installation shifting or cracking.
Final Thoughts
My cracked shelf taught me that live edge wood genuinely needs more careful sourcing and preparation than standard lumber, not just a coat of sealant and a mounting bracket. The kiln drying confirmation and proper stabilization alone made the difference between a piece that cracked within a year and one that’s held up perfectly for years since.
If you’re installing your own live edge corner shelf, confirm proper kiln drying before buying, address any existing checks with epoxy stabilization, and let the slab acclimate to your home before final mounting. That combination is really what separates a live edge shelf that lasts from one that develops a crack running right through its natural character within the first year.