
Above Ground Pool Deck Ideas: What I Learned After My First Deck Started Sagging Within a Year
I built a deck around my above ground pool myself the first summer we had it, mostly following a few online tutorials and using whatever lumber sizing seemed reasonable at the time. By the following spring, sections of it had started sagging noticeably, and one support post had actually shifted enough that the whole area near the ladder felt slightly unstable to walk on.
That experience sent me back to actually research proper deck construction instead of winging it, and my rebuilt version has held up solidly for years since. Here’s what I learned about the specific mistakes that tank an above ground pool deck fast, and what actually makes one last.
Pool Deck Framing Needs to Account for Different Stresses Than a Regular Deck
I initially built my deck the same way I’d approach any standard backyard deck, without accounting for the specific challenges a pool deck faces, constant moisture exposure, the weight of people entering and exiting the pool at one concentrated point, and ground conditions that shift more than typical dry soil due to splashing and drainage.
Once I understood that a pool deck genuinely needs different engineering considerations than a standard deck, my rebuild addressed problems my original construction never accounted for.
My Mistake: Undersized Support Posts and Inadequate Footings
My original deck used support posts set into the ground without proper concrete footings, relying mostly on the soil itself to hold everything stable. Combined with constant moisture from pool splash-out, that soil shifted more than typical dry ground would, and my support structure moved along with it.
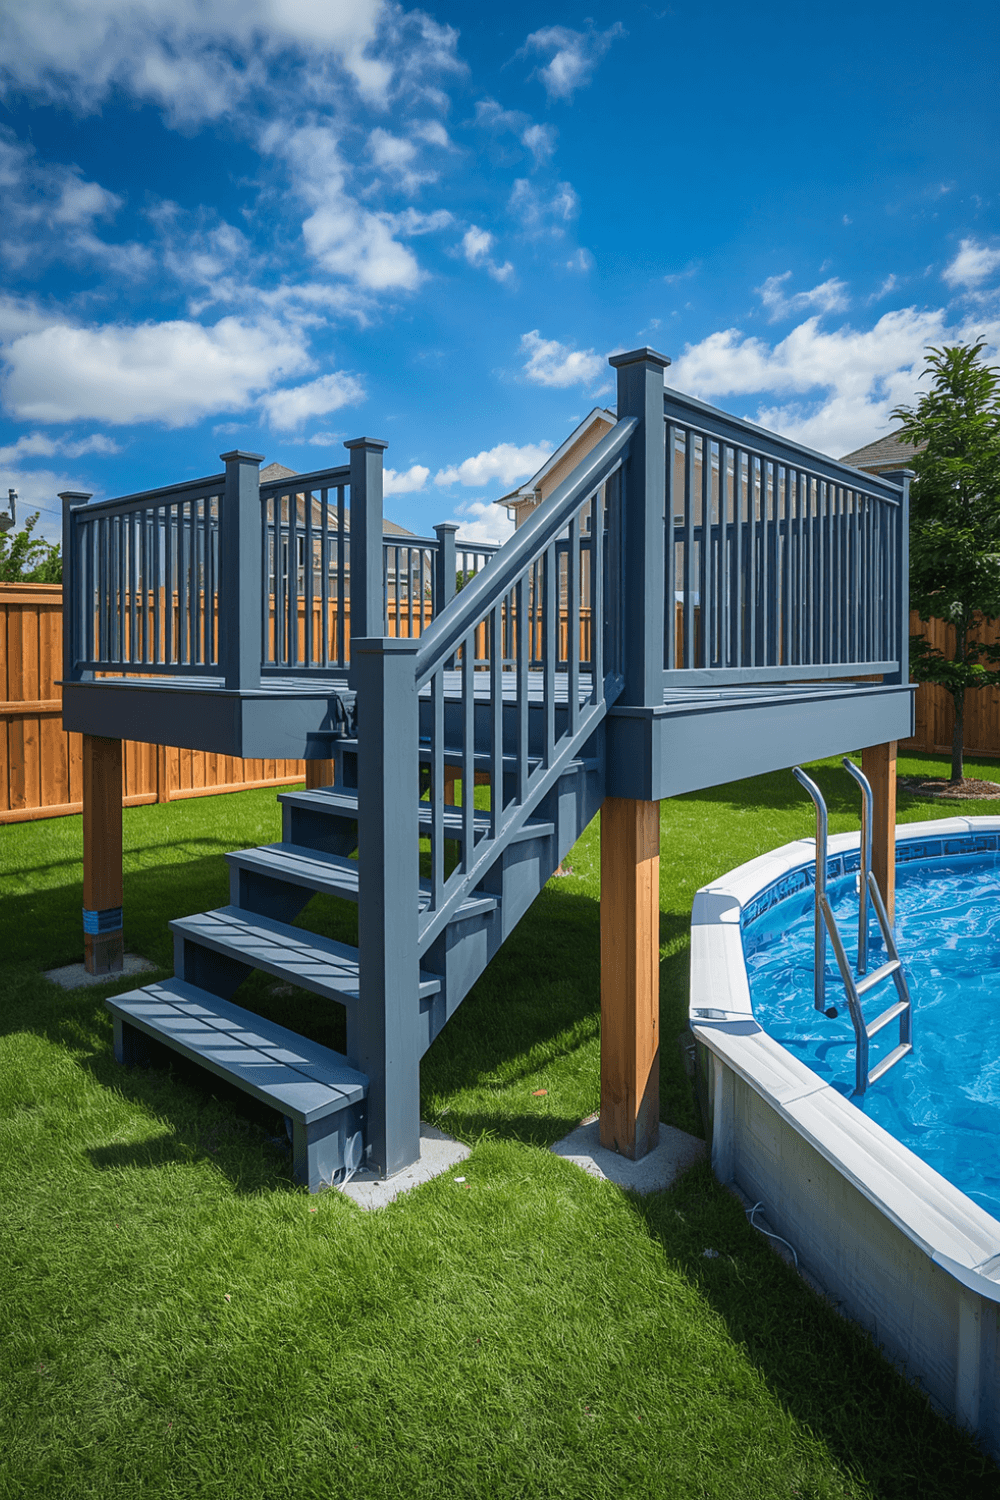
I rebuilt using proper concrete footings sunk below the frost line, with post anchors rated for outdoor, high-moisture use, and the difference in stability was immediate and has held consistently since.
Step-by-Step: Building an Above Ground Pool Deck That Actually Lasts
1. Use proper concrete footings for every support post
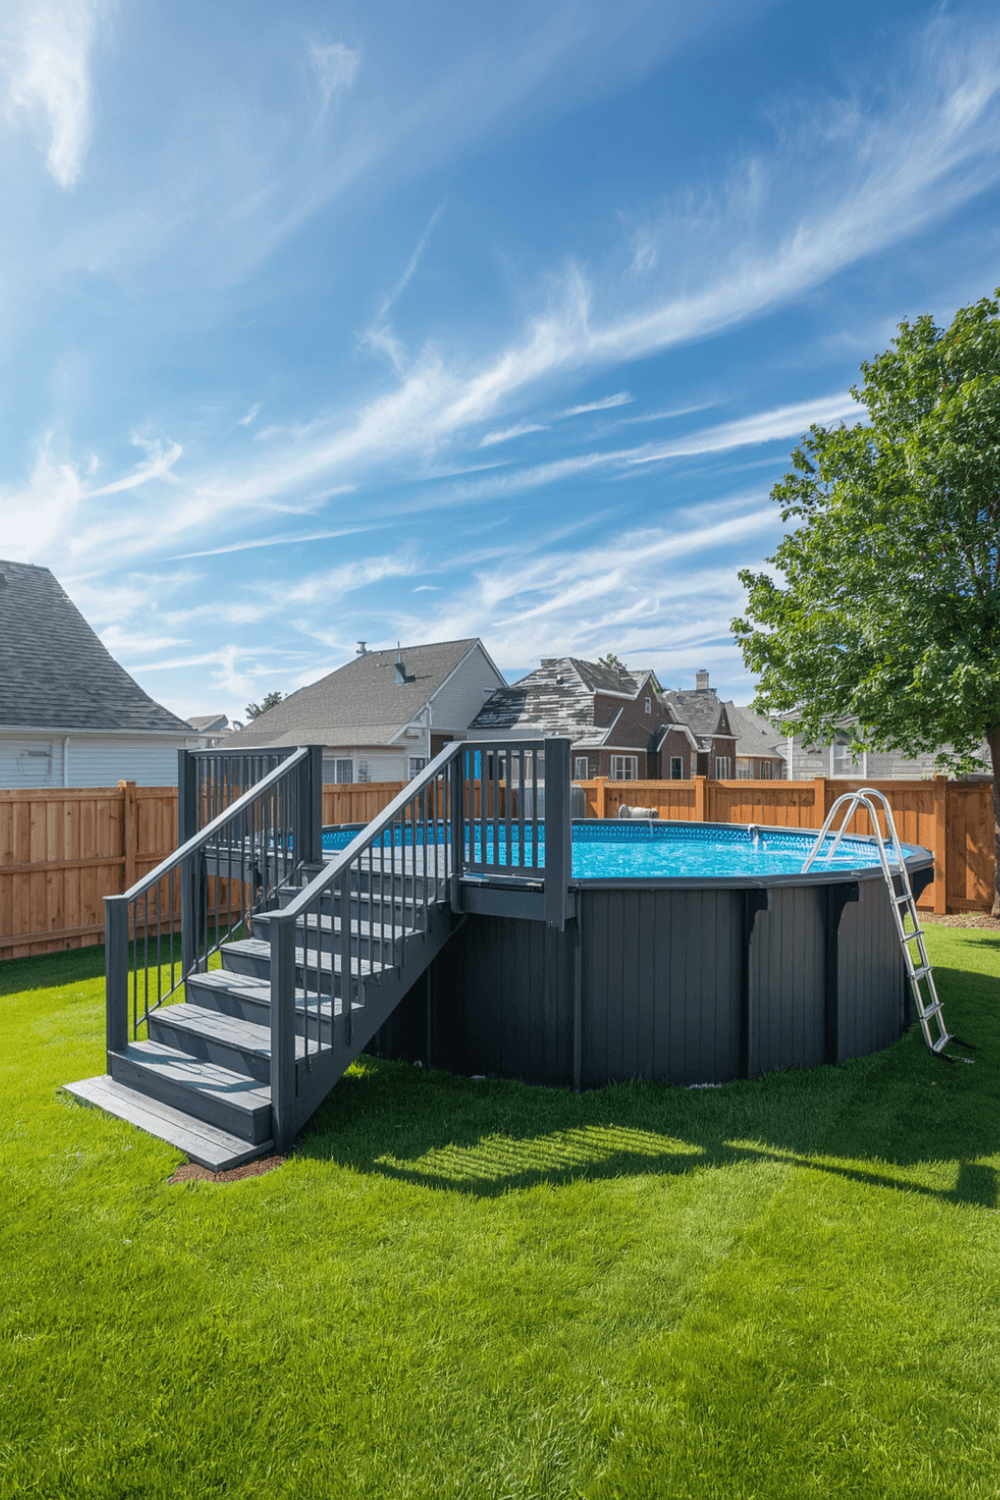 I now dig footings below the local frost line and use concrete tube forms filled and set with post anchors, rather than just setting posts directly into soil. This single change addressed the core stability issue that caused my original deck’s sagging and shifting.
2. Choose pressure-treated lumber rated for ground contact
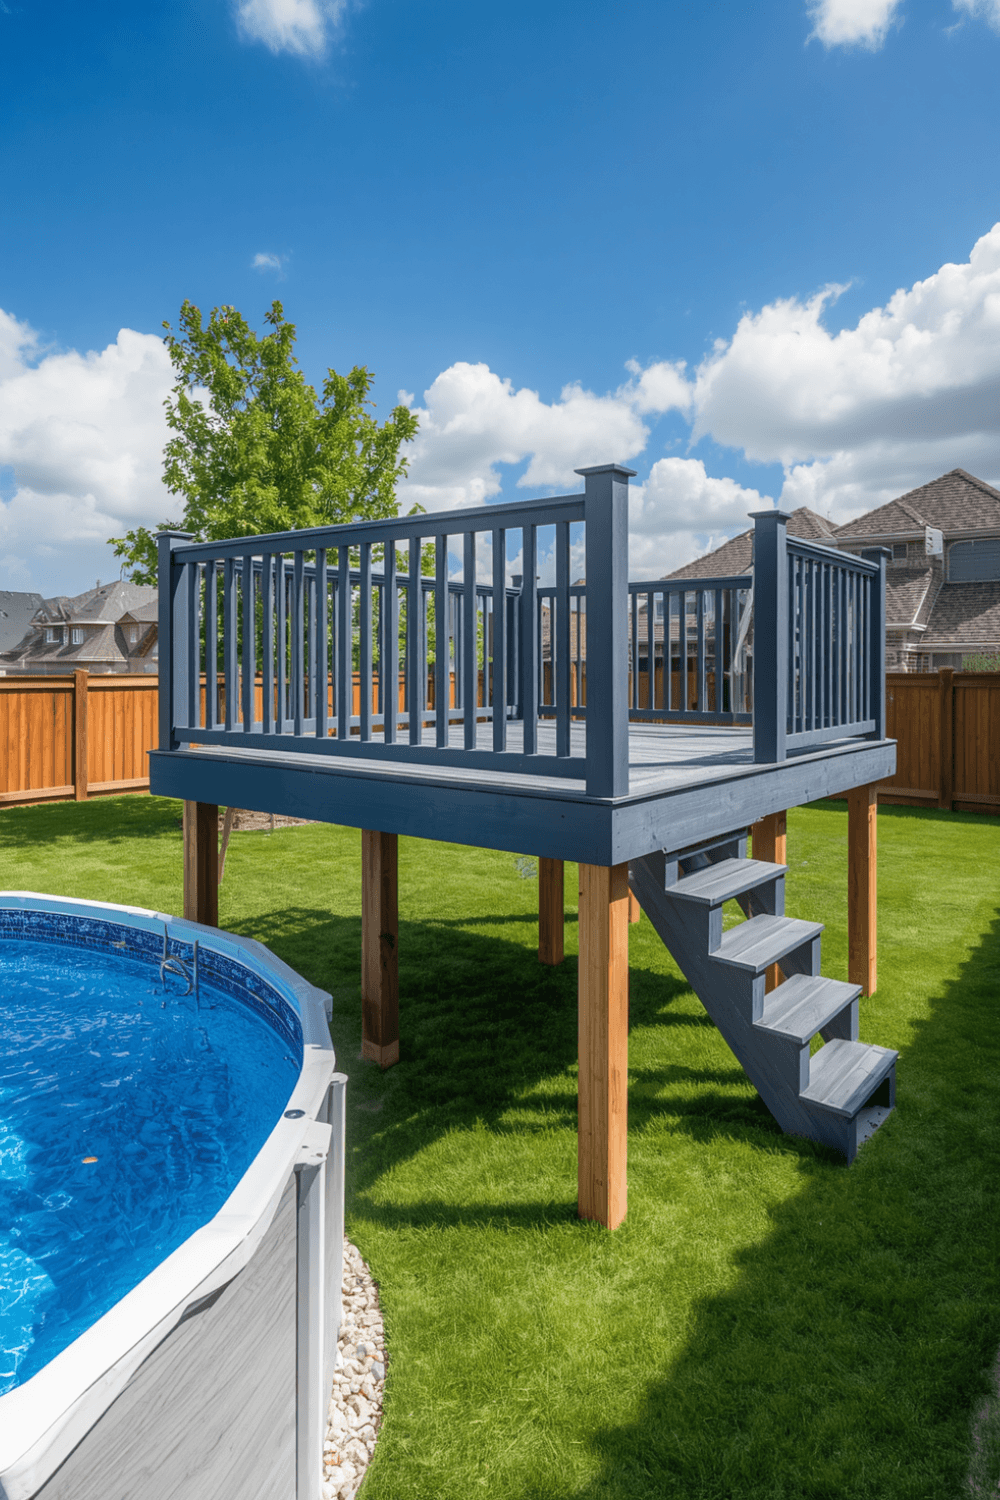 I switched to lumber specifically rated for ground contact use, rather than standard pressure-treated boards meant for above-ground applications only. Given how much moisture a pool deck deals with regularly, that rating genuinely matters for how long the wood resists rot.
3. Space joists closer together than a standard deck
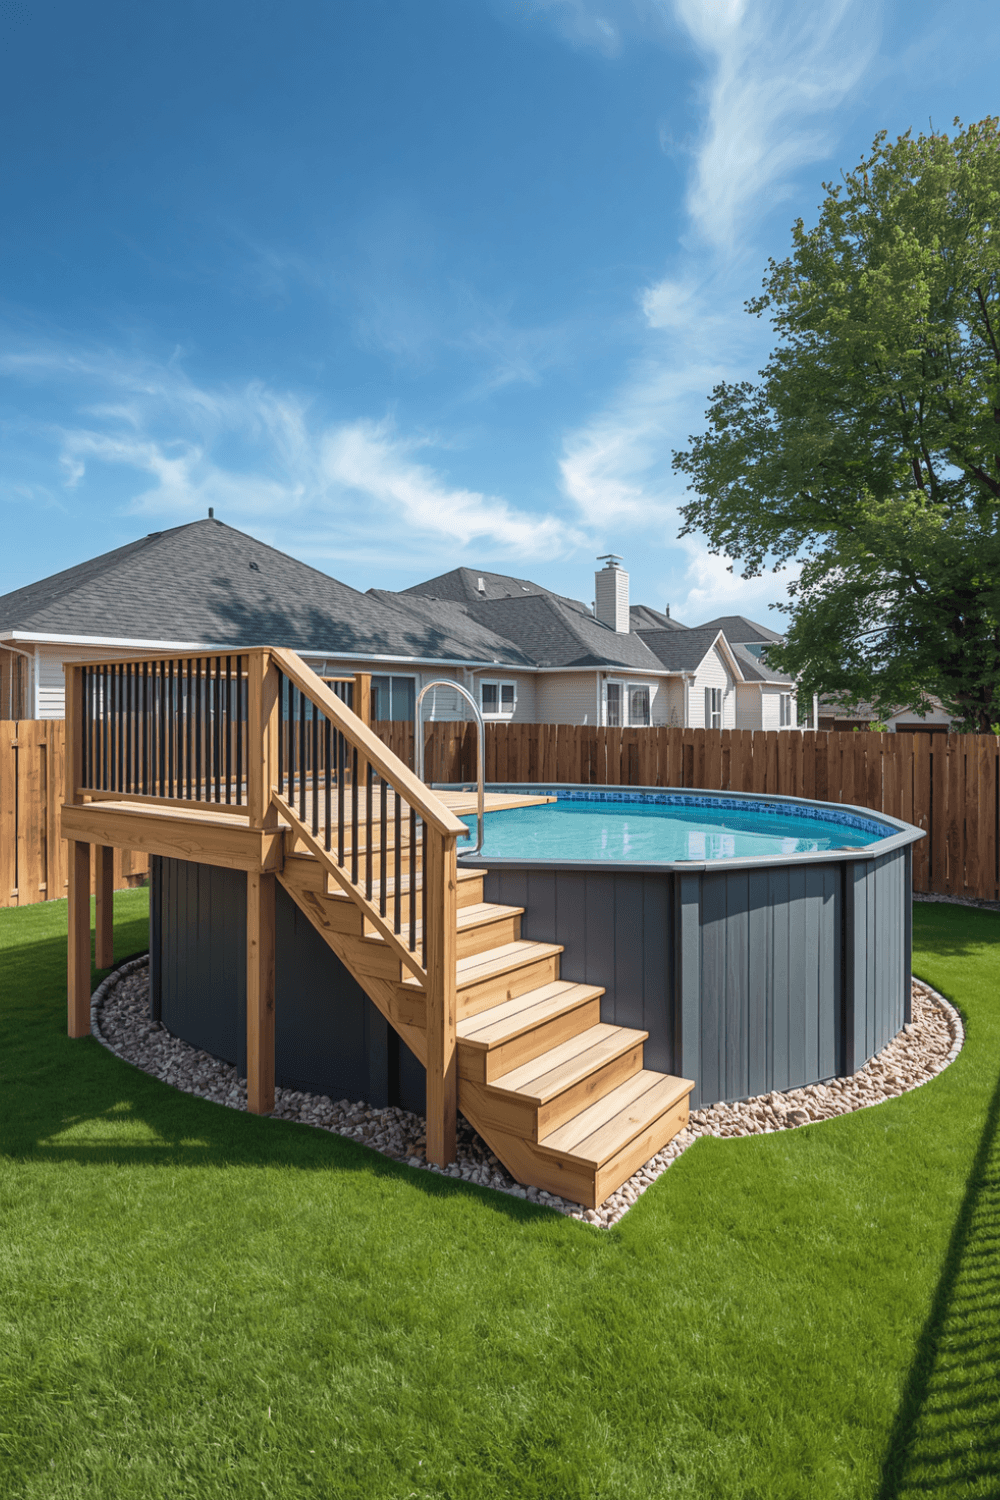 I reduced my joist spacing to 12 inches on center instead of the wider 16 inches I’d originally used, specifically to handle the concentrated foot traffic around the pool entry point. Tighter joist spacing reduces flex and bounce in the decking boards significantly.
4. Add proper drainage consideration into your design
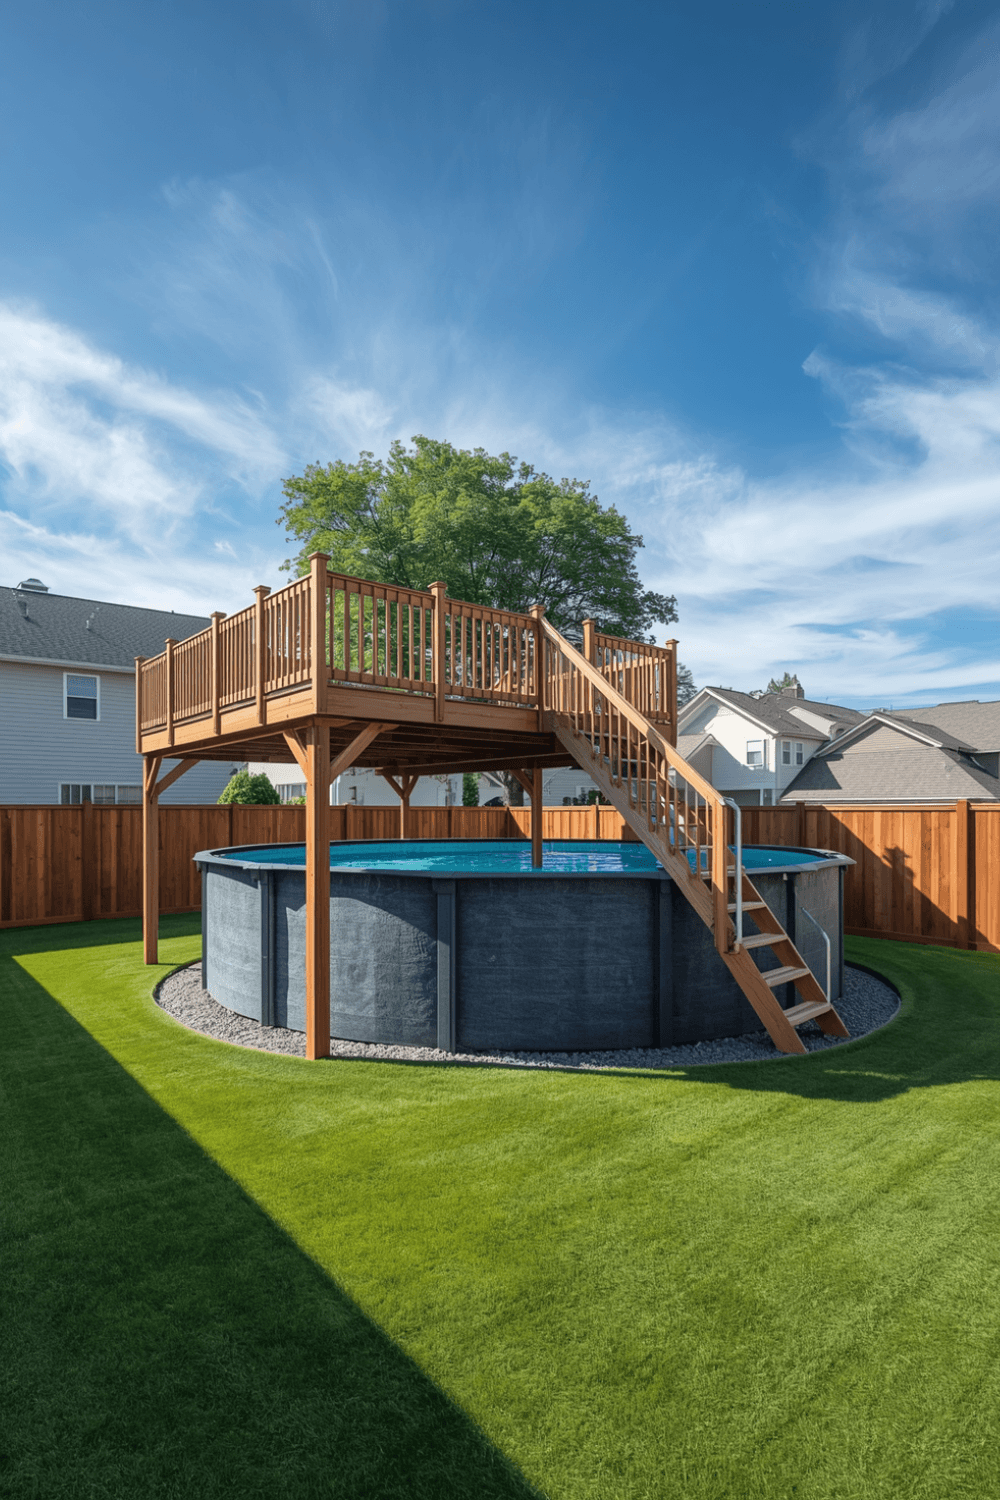 I sloped my deck surface very slightly away from the pool and added gravel beneath the structure instead of letting water pool against the footings. Standing water around a pool deck’s foundation accelerates the exact kind of soil instability that caused my original sagging.
5. Use stainless steel or coated deck screws, not standard fasteners
 I switched to stainless steel screws specifically rated for high-moisture, chlorinated water exposure, after noticing standard coated screws on my original build had started rusting within the first season. The upgrade cost more upfront but avoided the ongoing maintenance headache of replacing corroded fasteners.
6. Consider composite decking for the areas closest to the pool
I used composite decking boards specifically around the entry and ladder area, where moisture exposure is heaviest, while keeping pressure-treated wood for the rest of the structure. Composite resists water damage and splintering better than wood in that specific high-moisture zone, even though it costs more per board.
7. Add a proper gate and railing system rated for pool safety
I installed a self-closing, self-latching gate on my deck stairs, specifically to meet standard pool safety guidelines and prevent unsupervised access. Beyond just looking finished, proper railing and gating are genuinely important safety considerations that shouldn’t be an afterthought in the design.
Real Examples From People I Know
A friend built a wraparound deck at a slightly elevated height specifically to create storage space underneath for pool equipment and chemicals, keeping them protected from weather while staying easily accessible. It solved a storage problem she hadn’t initially planned for and has held up well over several seasons.
Another friend, in a colder climate, specifically over-engineered his footings to extend well below his region’s deeper frost line after hearing about a neighbor’s deck that heaved and shifted during a particularly harsh freeze-thaw cycle. The extra depth cost more in initial labor but has kept his structure completely stable through several winters since.
Common Mistakes to Avoid
Setting support posts directly into soil without proper concrete footings. This alone caused my entire original deck’s stability problems within the first year.
Using standard pressure-treated lumber not rated for ground contact. Pool decks deal with significantly more moisture exposure than typical backyard decking.
Spacing joists too widely for the concentrated foot traffic around a pool entry. Tighter spacing genuinely reduces flex and bounce in high-traffic areas.
Ignoring drainage in your overall deck design. Standing water around footings accelerates the exact soil instability that undermines deck structures over time.
Skipping proper safety railing and self-latching gates. Beyond looking unfinished, this is a genuine safety consideration that shouldn’t be treated as optional.
Final Thoughts
My original pool deck taught me that this specific project genuinely needs different construction considerations than a standard backyard deck, mostly around footings, moisture-rated materials, and drainage. The concrete footing upgrade alone fixed the core problem that caused my first attempt to sag and shift within a single year.
If you’re planning your own above ground pool deck, invest in proper concrete footings below the frost line, choose ground-contact rated lumber, and don’t skip drainage planning or safety railing. That combination is really what separates a pool deck that holds up for years from one that starts sagging before the following summer.