DIY Pool Ladder Ideas: What I Learned Building My Own (And Where I Wouldn’t Cut Corners)
When the ladder on our above-ground pool finally rusted through last summer, I looked up a replacement and nearly choked at the price. A basic model was running well over and the nicer ones were pushing .I’ve built plenty of things around the house, so I figured a ladder couldn’t be that complicated. I was mostly right, but I also learned a few things the hard way that I wish someone had told me before I started.
If you’re thinking about building your own pool ladder, whether for an above-ground pool, an in-ground one, or even a dock, I want to walk you through what actually worked for me, plus the parts where I’d tell you not to cut corners no matter how tempting it is to save a few extra dollars.
Why I Went the DIY Route (And Why It’s Not for Every Situation)
My situation was pretty simple: above-ground pool, wooden deck already built around part of it, and a ladder that just needed to get people safely from the deck into the water. That’s a very different project than building steps into an in-ground pool’s concrete structure, which honestly I wouldn’t recommend as a full DIY unless you have real experience with concrete and pool construction, since that involves structural work that needs to hold up under water pressure and repeated weight for years.
For deck-to-pool ladders and simple entry steps, though, DIY is very doable if you take a few things seriously.
1. Decide on the type before buying materials
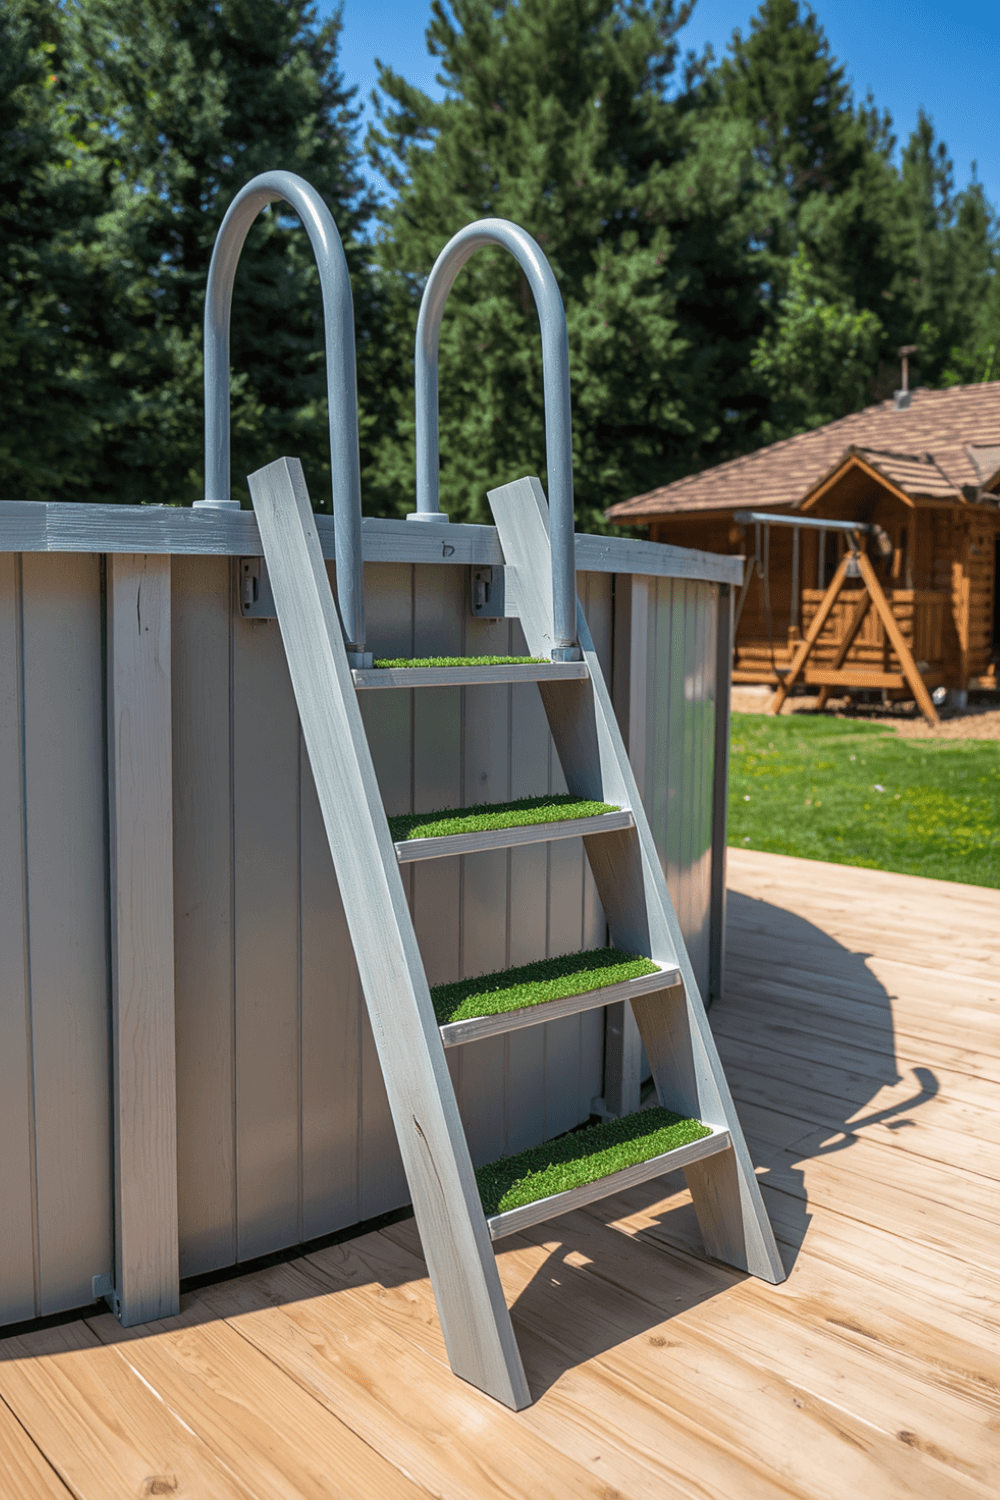
I went with a straight ladder attached to my deck rather than an A-frame style, mainly because my deck already gave me a stable anchor point. If you don’t have a deck or solid structure to attach to, an A-frame ladder (the kind that straddles the pool wall on both sides) is usually the safer and more stable DIY option since it doesn’t rely on drilling into anything.
2. Choose the right material, and don’t go cheap here
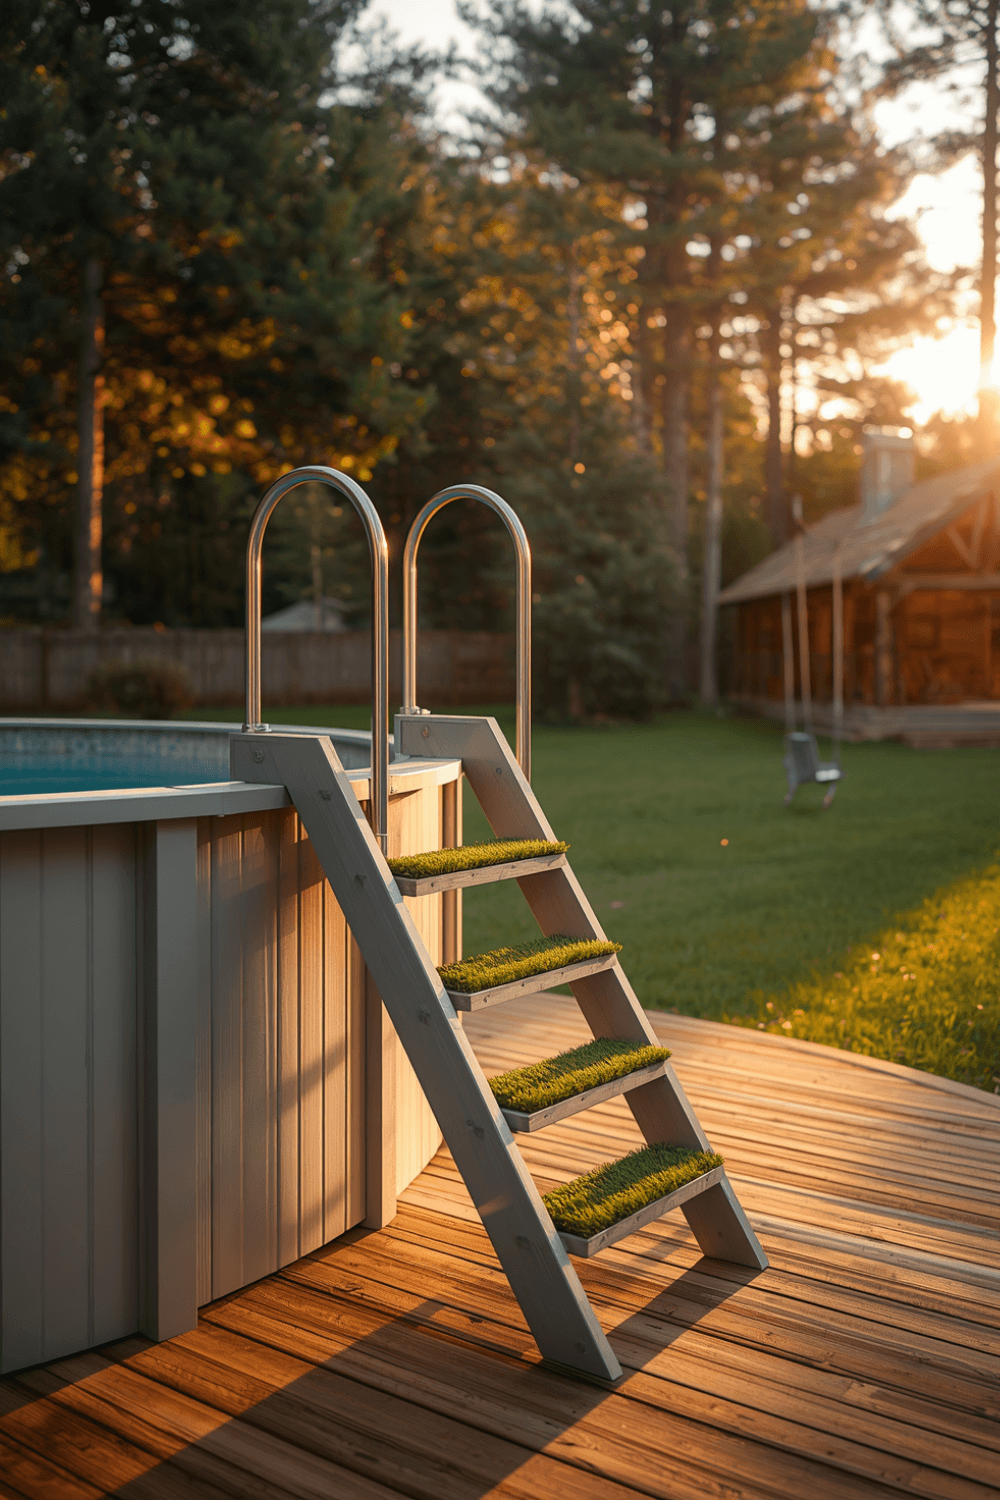
I used pressure-treated lumber for the frame with stainless steel hardware throughout, not regular galvanized screws, which will rust and weaken faster in constant water exposure. Stainless steel cost me maybe more total, and it was worth every cent. This is one spot where I wouldn’t recommend cutting costs.
For the actual steps or rungs, I went with treated 2×4 boards sanded smooth, since bare wood can splinter over a season of wet feet climbing on it.
3. Get your measurements right before cutting anything
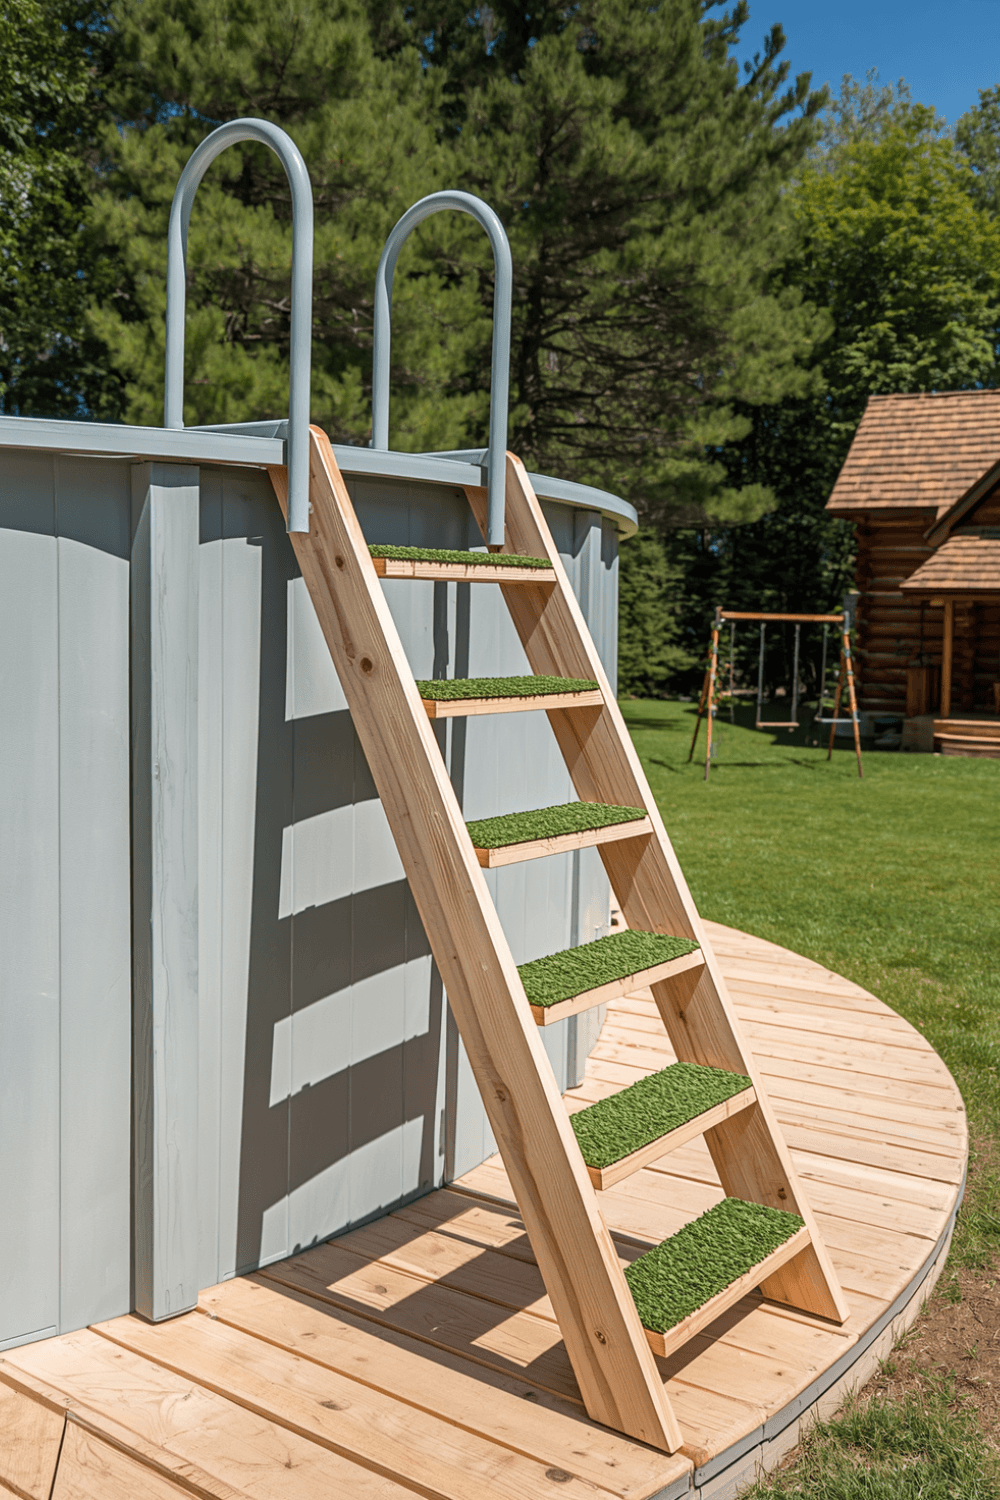
I measured the distance from my deck surface down to the water line, then added a couple of inches below the waterline so the bottom step would still be submerged and usable even as pool water naturally evaporates over the season. Skipping this step is a mistake I made on my first attempt, my bottom rung ended up a few inches above the water by mid-July, which made getting in awkward.
4. Anchor it properly, this is not the place to improvise
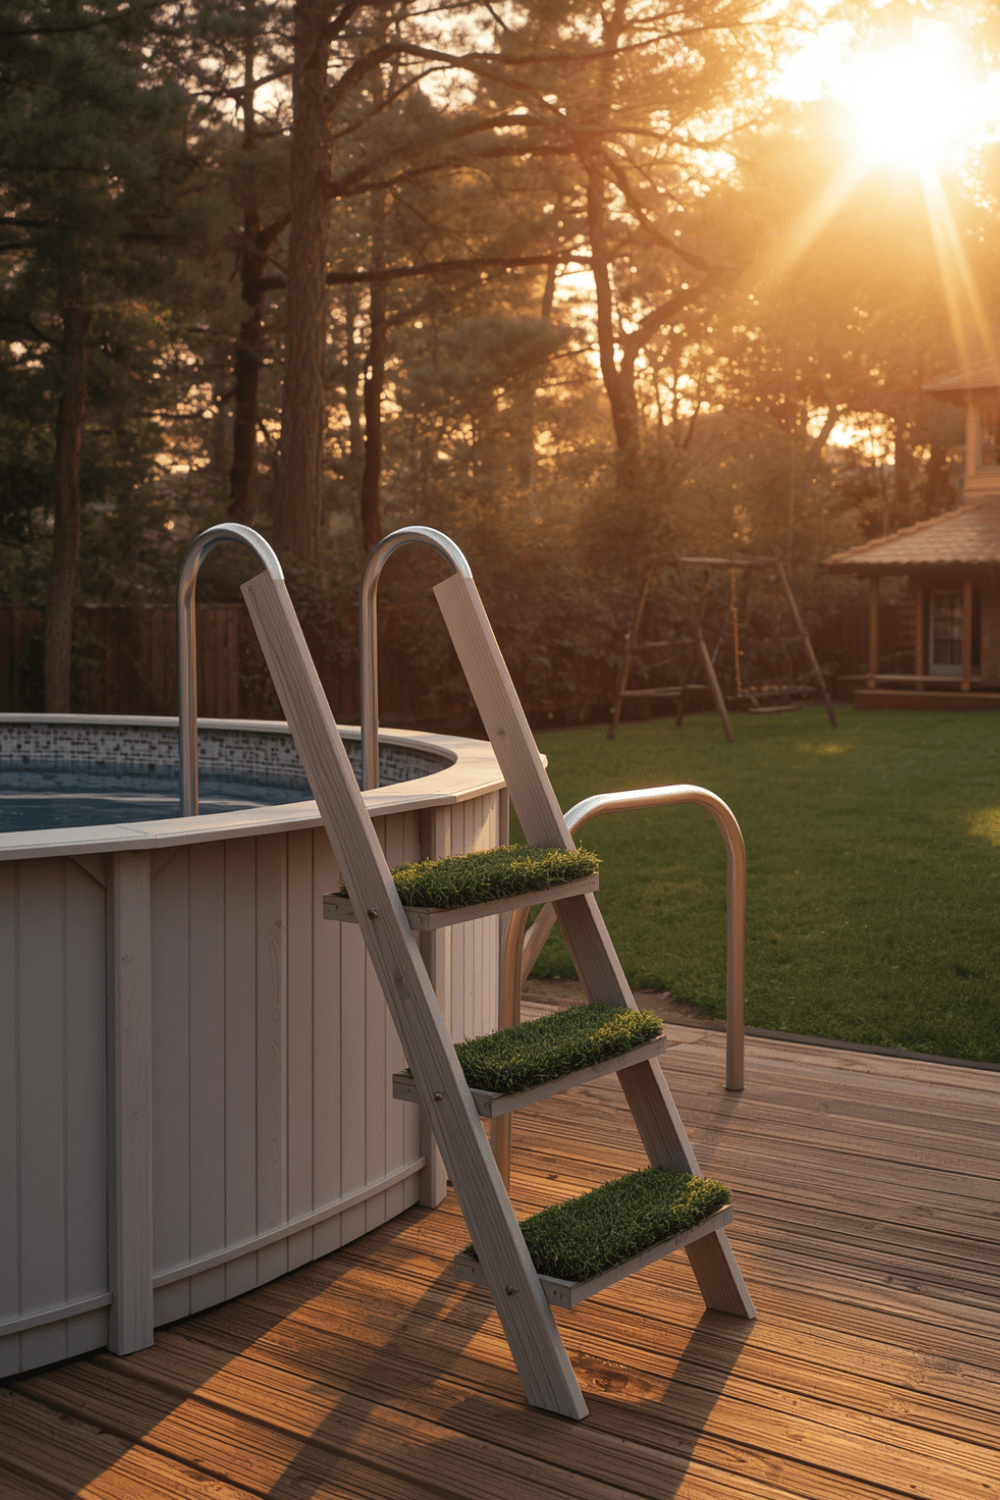
I used heavy-duty stainless lag bolts to secure the ladder frame directly into the deck joists, not just the deck boards themselves. Attaching only to the surface boards instead of the actual structural joists underneath is a mistake that can lead to the whole thing pulling loose under weight. If you’re not sure where your joists are, a stud finder rated for exterior use, or just knocking along the deck to listen for the solid sound of a joist, works fine.
5. Add non-slip treads
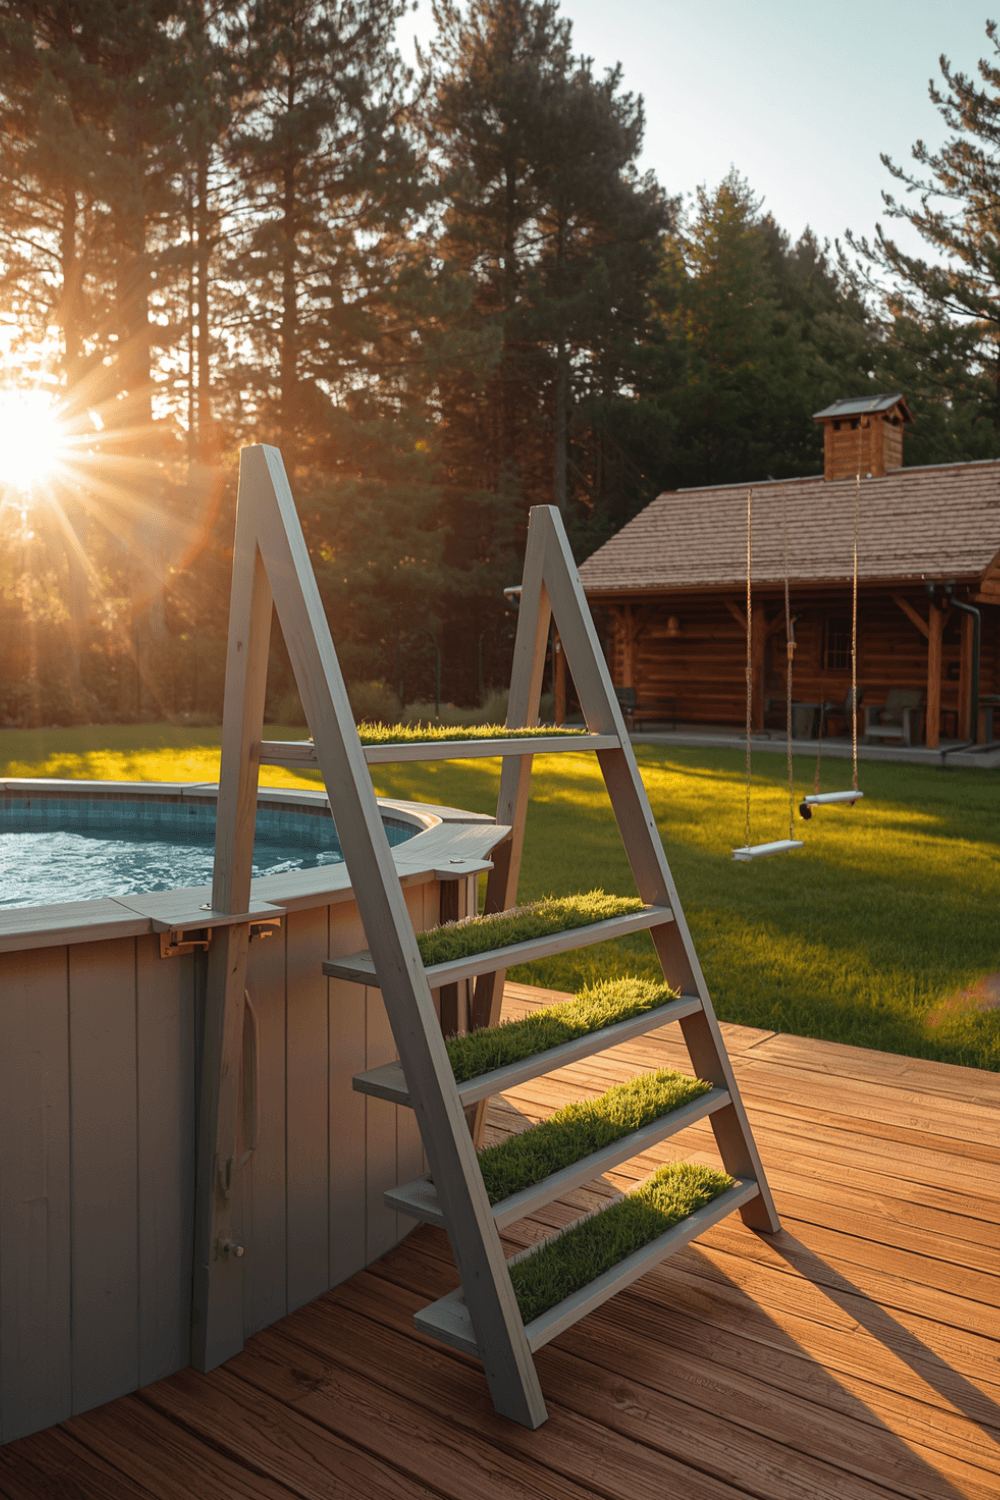
This was something I skipped originally and regretted almost immediately. Wet wood gets slippery fast. I added strips of outdoor-rated non-slip tape to each step after a close call where my kid nearly slipped getting out. It’s a five-minute fix that makes a real difference.
6. Test it before anyone uses it for real
I put my full weight on it slowly, step by step, before letting anyone else near it. Then I had my partner do the same. It sounds overly cautious, but a ladder that seems solid standing still can flex differently under someone climbing dynamically, especially kids who tend to bounce a bit going up and down.
7. Check it regularly, don’t just build it once and forget it
Wood swells, hardware loosens, and pool chemicals are tougher on materials than most people expect. I check mine at the start of every season now, tightening any bolts that have worked loose and looking for any wood that’s starting to soften or crack.
Common Mistakes to Avoid
Using regular hardware instead of stainless steel. Galvanized screws and bolts corrode much faster in constant pool water exposure and will weaken the whole structure over time.
Attaching only to deck boards, not joists. This is the single biggest structural mistake for a deck-mounted ladder. Always anchor into the actual load-bearing joists underneath.
Skipping non-slip treads. Wet wood or smooth painted steps get dangerously slippery. It’s a small addition that matters a lot.
Not accounting for water evaporation. Build your bottom step low enough that it’s still usable even as the pool level drops naturally over a season.
Attempting in-ground concrete steps as a full DIY without real experience. This is structural work under constant water pressure and weight, and it’s worth hiring a professional for anything beyond a simple deck-attached ladder.
Skipping the seasonal check-up. Hardware loosens and wood degrades faster than you’d expect around a pool. A quick yearly inspection catches problems before they become dangerous.
Final Thoughts
Building my own pool ladder saved real money, but the actual lesson I took away wasn’t about the savings. It was about which parts of a project like this are fine to DIY casually, and which parts, like the anchoring and hardware choice, are worth taking seriously every single time.
If you’re building your own, keep it simple where you can, but don’t compromise on the stuff that’s actually holding people up over water.