Fairy Lights Bedroom Decor: What I Learned After Tape Nearly Ruined My Wall
I strung my first set of fairy lights across my bedroom wall using regular clear tape because it was what I had on hand and I wanted them up that same night. They looked great for about two weeks. Then I took them down to rearrange my room, and half the paint peeled right off the wall along with the tape, leaving patchy marks I had to touch up before anyone came over.
That small disaster taught me that fairy lights are genuinely one of the easiest, most affordable ways to change a bedroom’s whole mood, but only if you actually mount and choose them properly. Here’s what I’ve learned since, including the mistakes that cost me some touch-up paint and a bit of pride.
Fairy Lights Are Deceptively Simple, But Details Matter
I used to think fairy lights were about as foolproof as decor gets, just string them up and enjoy the glow. What I learned is that the specific type of lights, the mounting method, and even the placement all genuinely affect whether they look intentional and cozy or messy and thrown together.
Once I started treating fairy lights as an actual design element instead of an afterthought, the difference in how my room looked and felt was honestly bigger than I expected from something so simple and inexpensive.
My Mistake: Wrong Tape, Wrong Light Type, No Real Plan
Beyond the wall damage, my first attempt also used lights that were too warm and yellow-toned for my color scheme, which made the whole wall glow slightly orange instead of the soft, warm white I’d actually pictured. I hadn’t checked the color temperature before buying, just grabbed whatever was cheapest and available.
My second attempt used specifically warm white LED lights, actual picture-hanging strips rated for wall-safe removal, and an intentional layout instead of just draping them randomly. The difference was immediate and obvious.
Step-by-Step: Decorating With Fairy Lights That Actually Look Good
1. Choose the right color temperature for your room
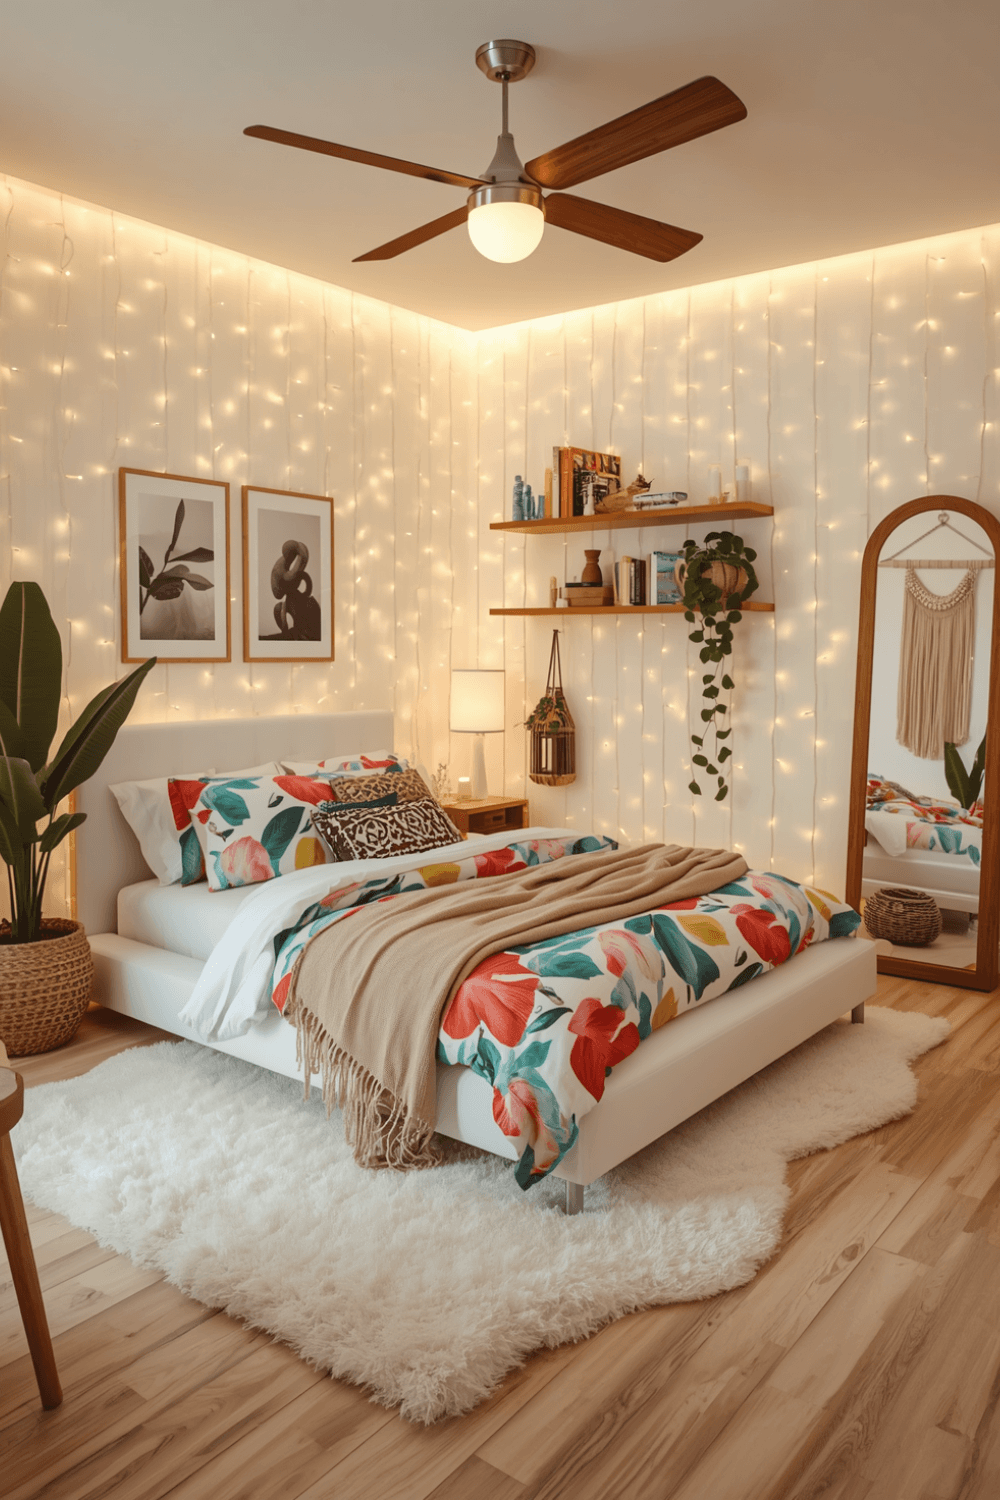 I now specifically look for lights labeled “warm white,” typically in the 2700K to 3000K range, rather than assuming all fairy lights create the same glow. Some cheaper sets lean more yellow or even slightly orange, which can clash with cooler-toned bedding or decor.
2. Use wall-safe mounting products, not regular tape
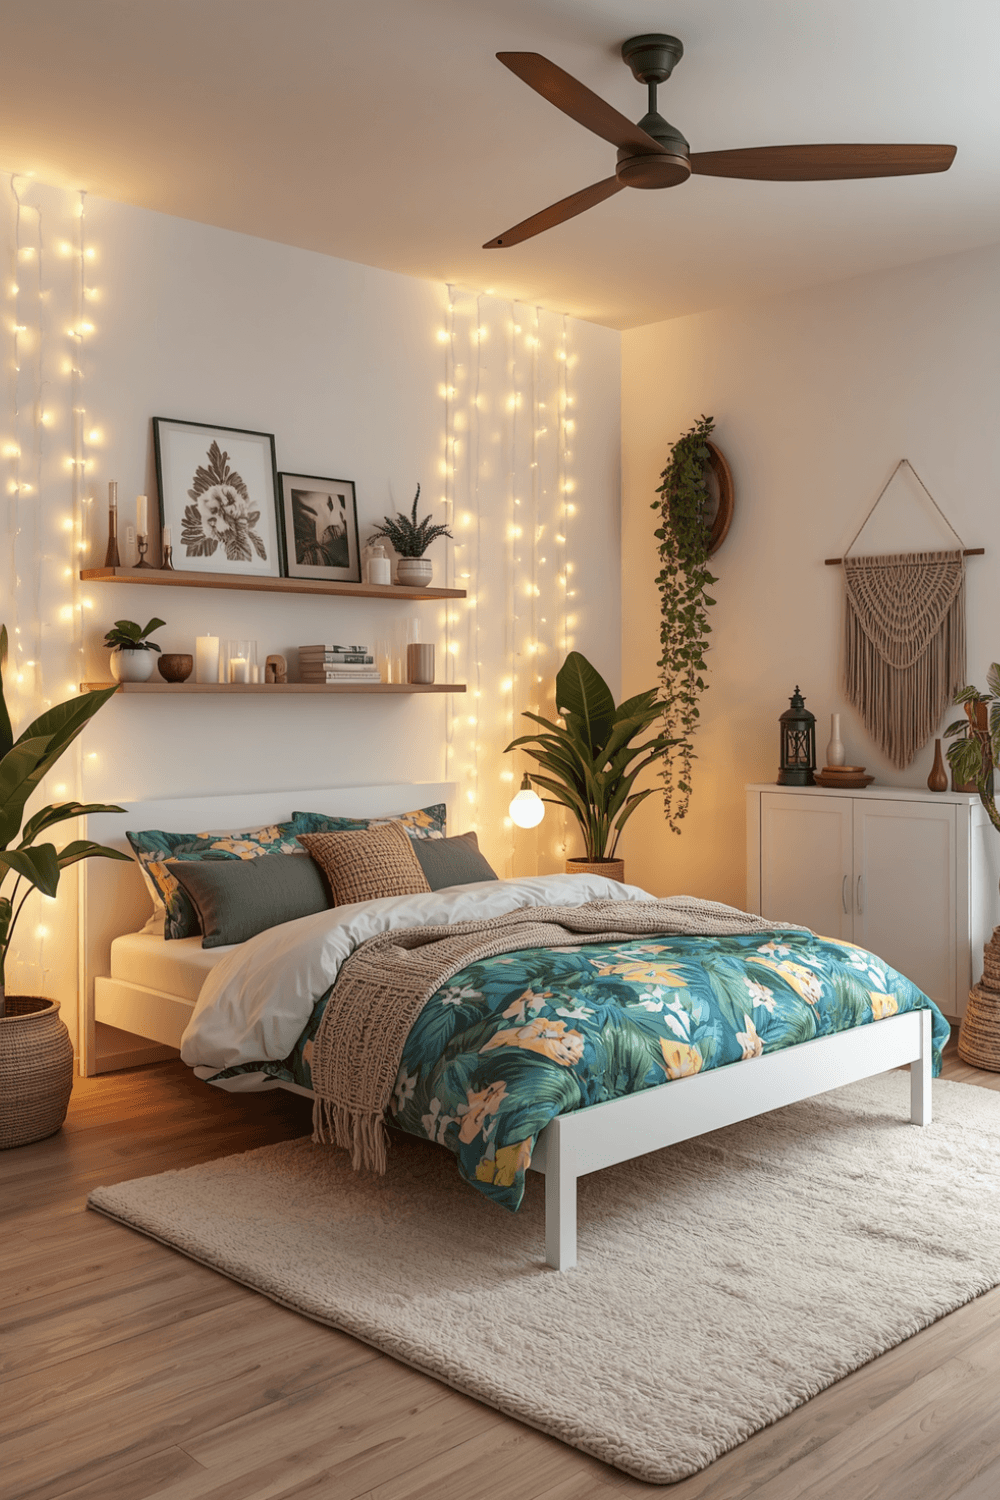 I switched to Command strips specifically designed for lightweight items, which hold securely but remove cleanly without damaging paint. Regular tape, especially anything left up for more than a few days, can pull paint off with it when removed, exactly like what happened to my original wall.
3. Plan your layout before mounting anything
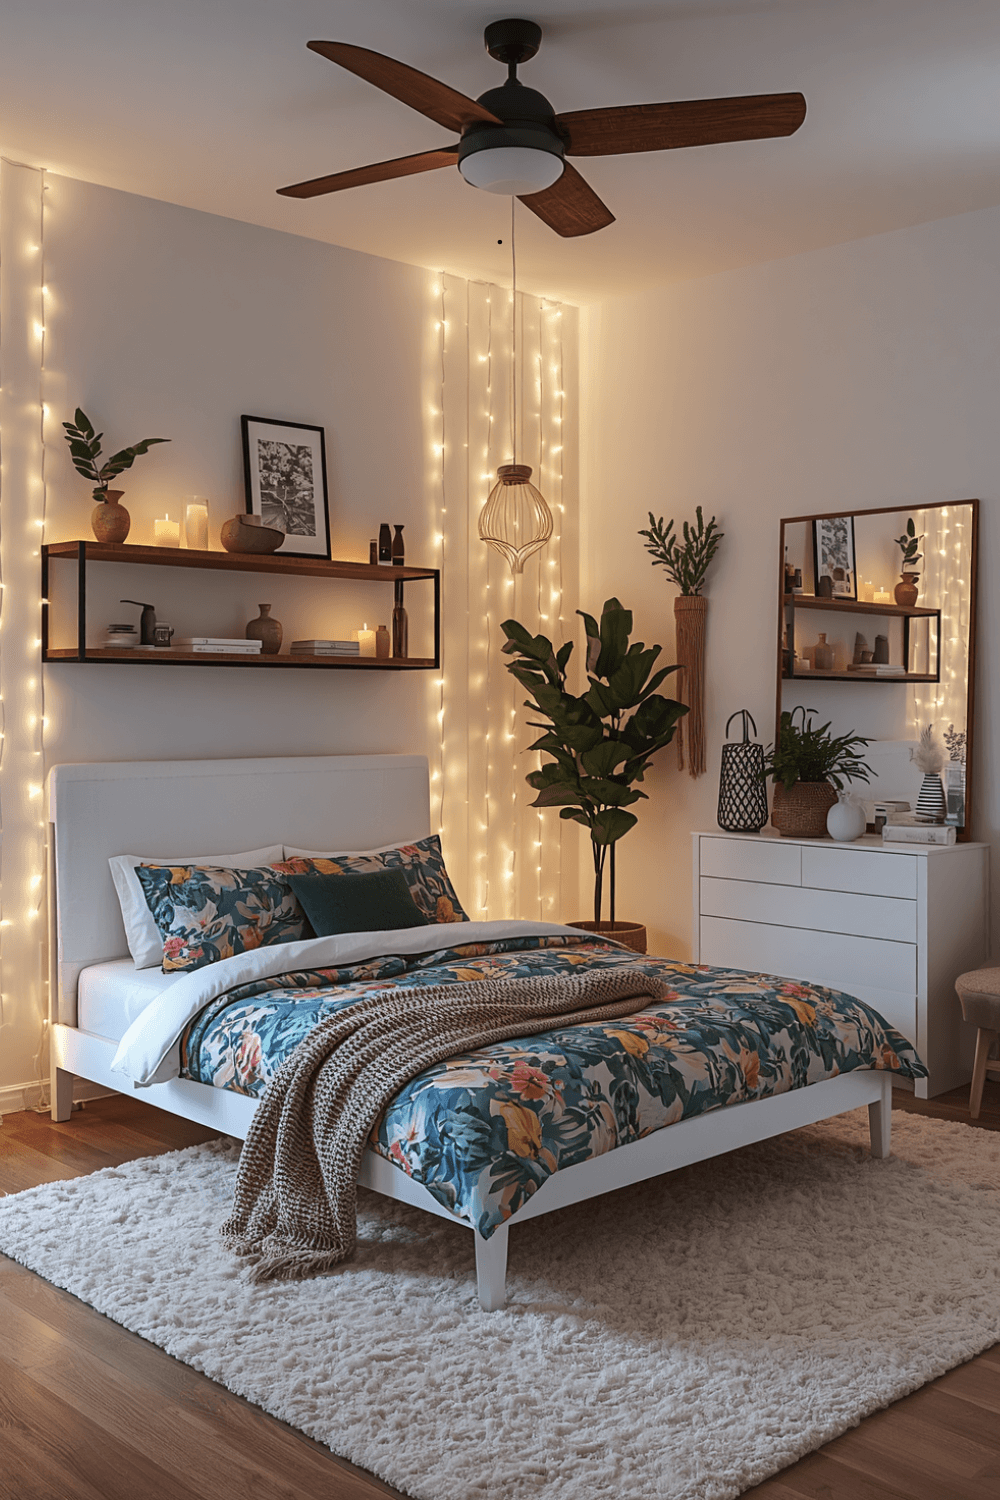 I sketched a rough layout on paper first, deciding whether I wanted a draped canopy effect above the bed, a defined shape like a heart or star, or a simple straight line along one wall. Having an actual plan before mounting anything prevented the random, thrown-together look my first attempt had.
4. Consider battery-operated or USB-powered lights for flexibility
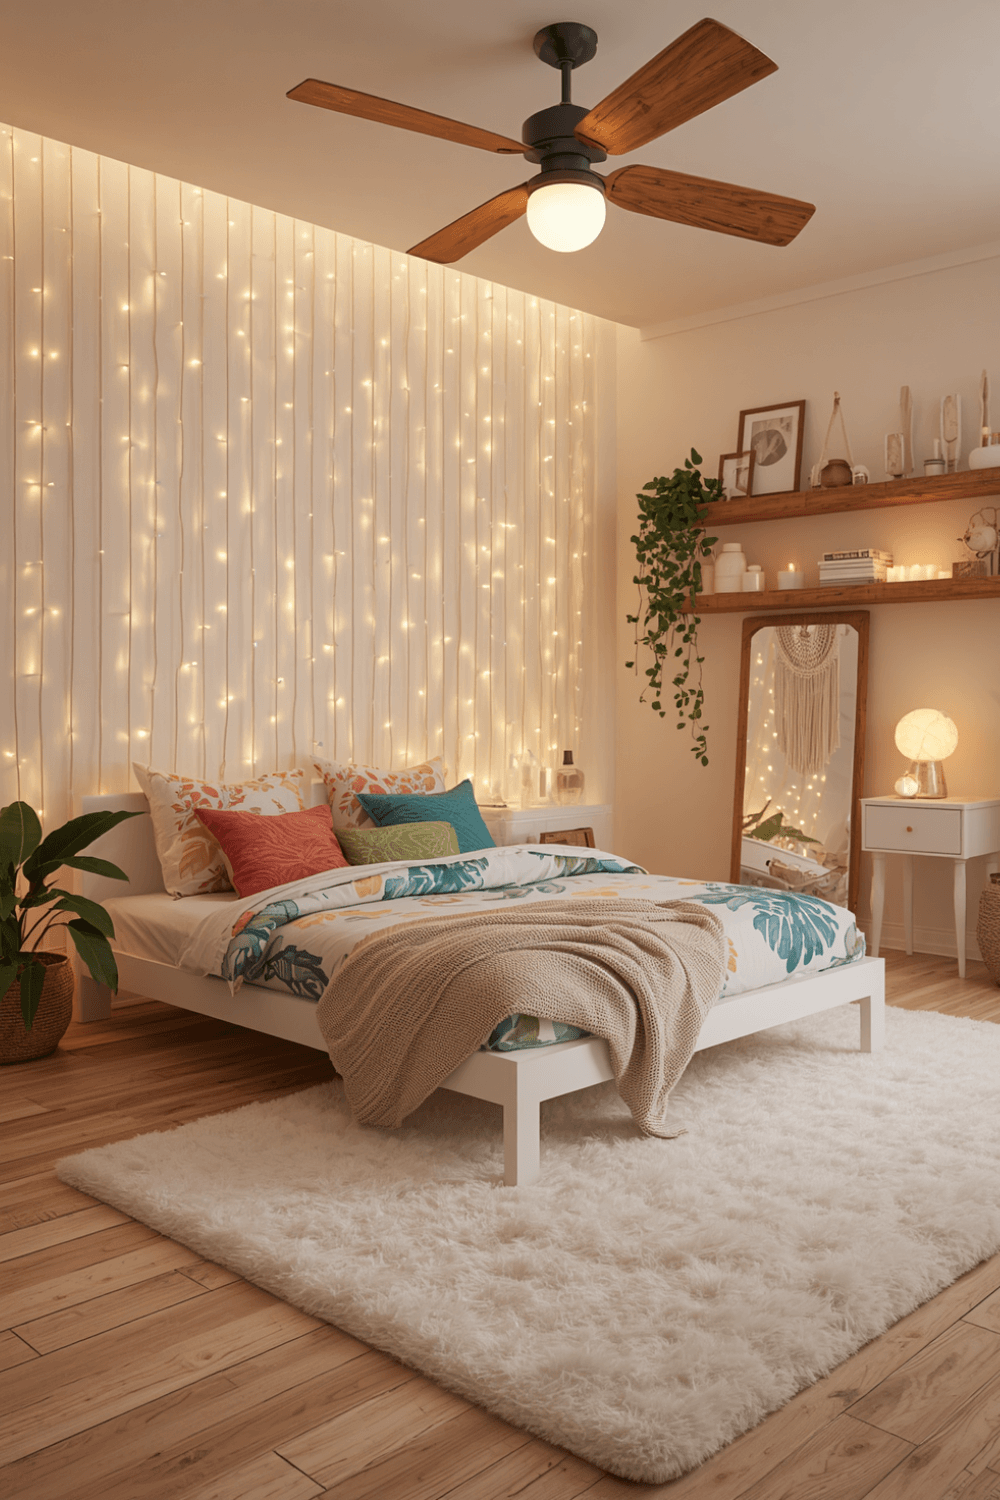
I switched to a USB-powered set with a small timer function, which let me place the lights anywhere near an outlet or power bank without worrying about a visible cord running to a far wall outlet. It gave me significantly more flexibility in layout compared to my original plug-in set.
5. Layer fairy lights with existing decor instead of using them alone
I wove my fairy lights through a piece of macrame wall hanging and behind a small collection of framed art, rather than displaying them as a standalone feature. That layering made the lights feel like an intentional accent to existing decor instead of the entire design statement on their own.
6. Add a dimmer or remote if your set supports it
I upgraded to a set with a small remote control that adjusts brightness, which lets me shift from a brighter accent glow for reading to a much softer ambiance for winding down at night. Not all sets include this, but it’s worth checking for if you plan to use the lights regularly in the evening.
7. Keep cords tidy and intentional, not just tucked away randomly
I used small adhesive cord clips to route the power cord neatly along the baseboard instead of letting it dangle or bunch up behind furniture. It’s a small detail, but visible messy cords can undercut an otherwise well-designed fairy light setup.
Real Examples From People I Know
A friend created a canopy effect by draping fairy lights across a sheer curtain rod installed just above her headboard, which gave a soft, dreamy glow without needing to mount anything directly onto the wall or ceiling. It’s a great option for renters who want to avoid any wall damage risk entirely.
Another friend used fairy lights inside large glass jars on her nightstands instead of on the wall at all, creating a soft, contained glow that works more like a nightlight than a full wall feature. It’s a lower-commitment way to add the same warm ambiance without any mounting decisions at all.
Common Mistakes to Avoid
Using regular tape instead of wall-safe mounting products. This alone caused my original paint damage and touch-up hassle.
Skipping the color temperature check before buying. Warm white and cooler white lights create noticeably different moods, and the wrong choice can clash with your existing decor.
Draping lights randomly without an actual layout plan. A little planning goes a long way toward looking intentional instead of thrown together.
Leaving cords visible and messy. Tidying up the power cord routing makes a bigger visual difference than people expect.
Using fairy lights as the sole decor element instead of layering them with existing pieces. Combining them with other decor tends to look more curated than lights alone.
Final Thoughts
My fairy lights disaster wasn’t really about the lights themselves, it was about rushing the mounting and skipping any real planning. Once I switched to wall-safe strips, checked the color temperature, and actually planned the layout, the same basic idea transformed into something that finally looked as cozy as I’d originally pictured.
If you’re adding fairy lights to your own bedroom, check the color temperature before buying, use proper wall-safe mounting products, and take a few minutes to plan your layout first. That combination alone will save you from the wall damage and mismatched glow that my first attempt ran into.