Kitchen Island Ideas: What I Learned After My Island Looked Great and Functioned Terribly
I designed my kitchen island almost entirely around how it would look in photos, with a beautiful waterfall countertop edge and sleek pendant lighting above it. What I didn’t think through was the seating, and within the first month of actually using it, I realized the overhang I’d chosen left barely enough knee room for anyone taller than about five foot six to sit comfortably.
That mistake meant redoing part of the island after it was already installed, which was both expensive and honestly avoidable if I’d thought through actual daily use instead of just the visual design. If you’re planning your own kitchen island, here’s what I wish I’d known before finalizing mine.
An Island Has to Work as Hard as It Looks Good
I think a lot of people, myself included at the time, approach island design the same way they’d approach picking out a piece of art, purely based on visual appeal. But an island usually ends up being one of the most heavily used surfaces in the entire kitchen, serving as prep space, a casual dining spot, and sometimes even a homework or work-from-home desk depending on the day.
Once I started designing around all those actual uses instead of just the countertop’s appearance, my redo turned out dramatically more functional than my original version ever was.
My Mistake: Choosing Overhang and Seating Height Without Testing It
My original island had a standard counter height with about 10 inches of overhang for seating, which looked proportionally fine on paper. In practice, that overhang wasn’t nearly enough knee clearance for comfortable seating, especially for anyone with longer legs, and stools constantly got pushed in at an awkward angle just to fit.
I ended up having a contractor extend the overhang to 15 inches during a partial redo, which finally gave enough real clearance for people to sit comfortably without their knees hitting the cabinet base below.
Step-by-Step: Designing a Kitchen Island That Actually Works
1. Test your seating overhang before finalizing the design
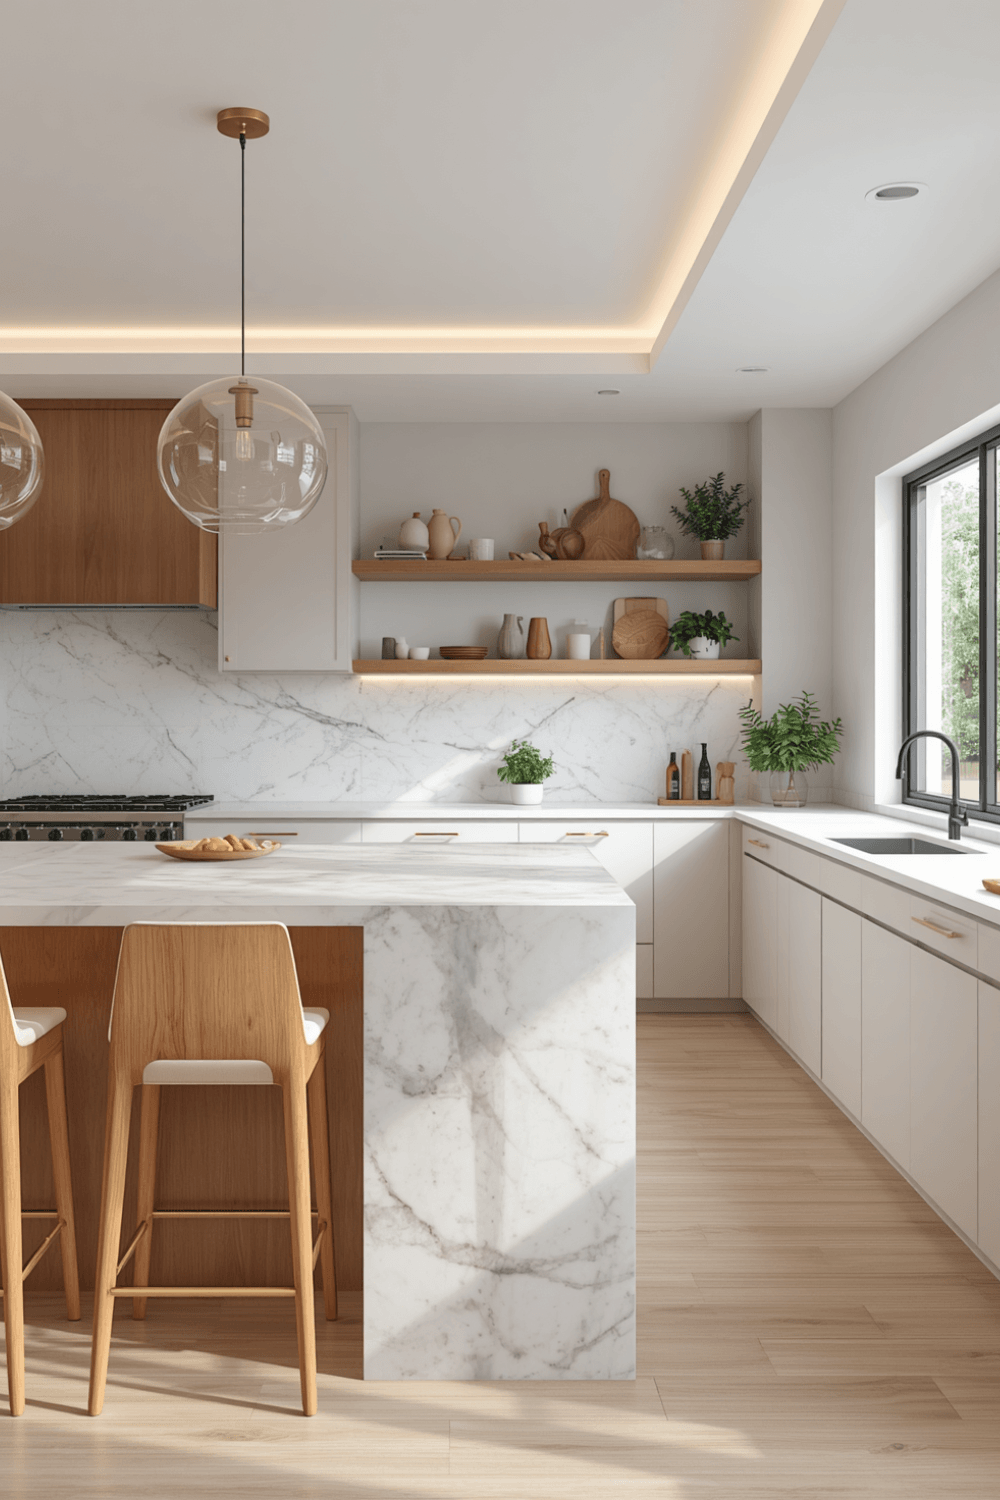
I now recommend actually sitting on a stool at a mocked-up height and overhang, using stacked boxes or a temporary setup if needed, before committing to your final island dimensions. Standard recommendations suggest at least 12 inches of overhang for comfortable seating, and I’d lean toward 15 inches if you have the room to spare.
2. Decide what the island actually needs to do daily
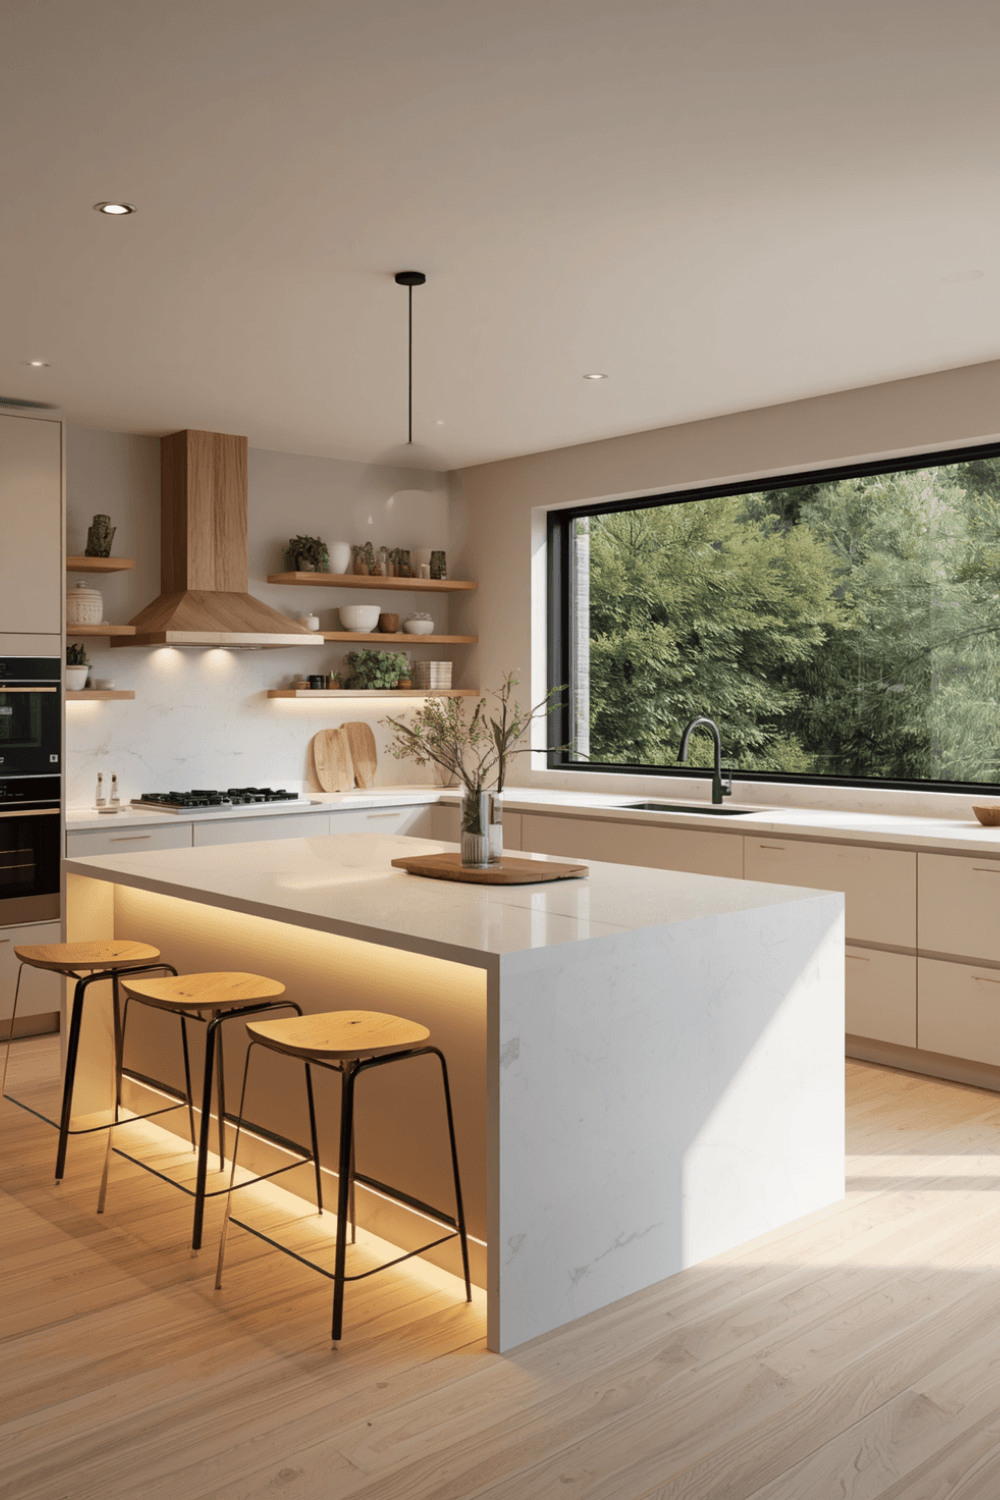
I sat down and listed out every actual use my island needed to support: food prep, casual seating for two, and occasional laptop use for remote workdays. That list shaped decisions about outlet placement, counter depth, and seating that I hadn’t originally considered when I was just picking finishes.
3. Plan for adequate walkway clearance around all sides
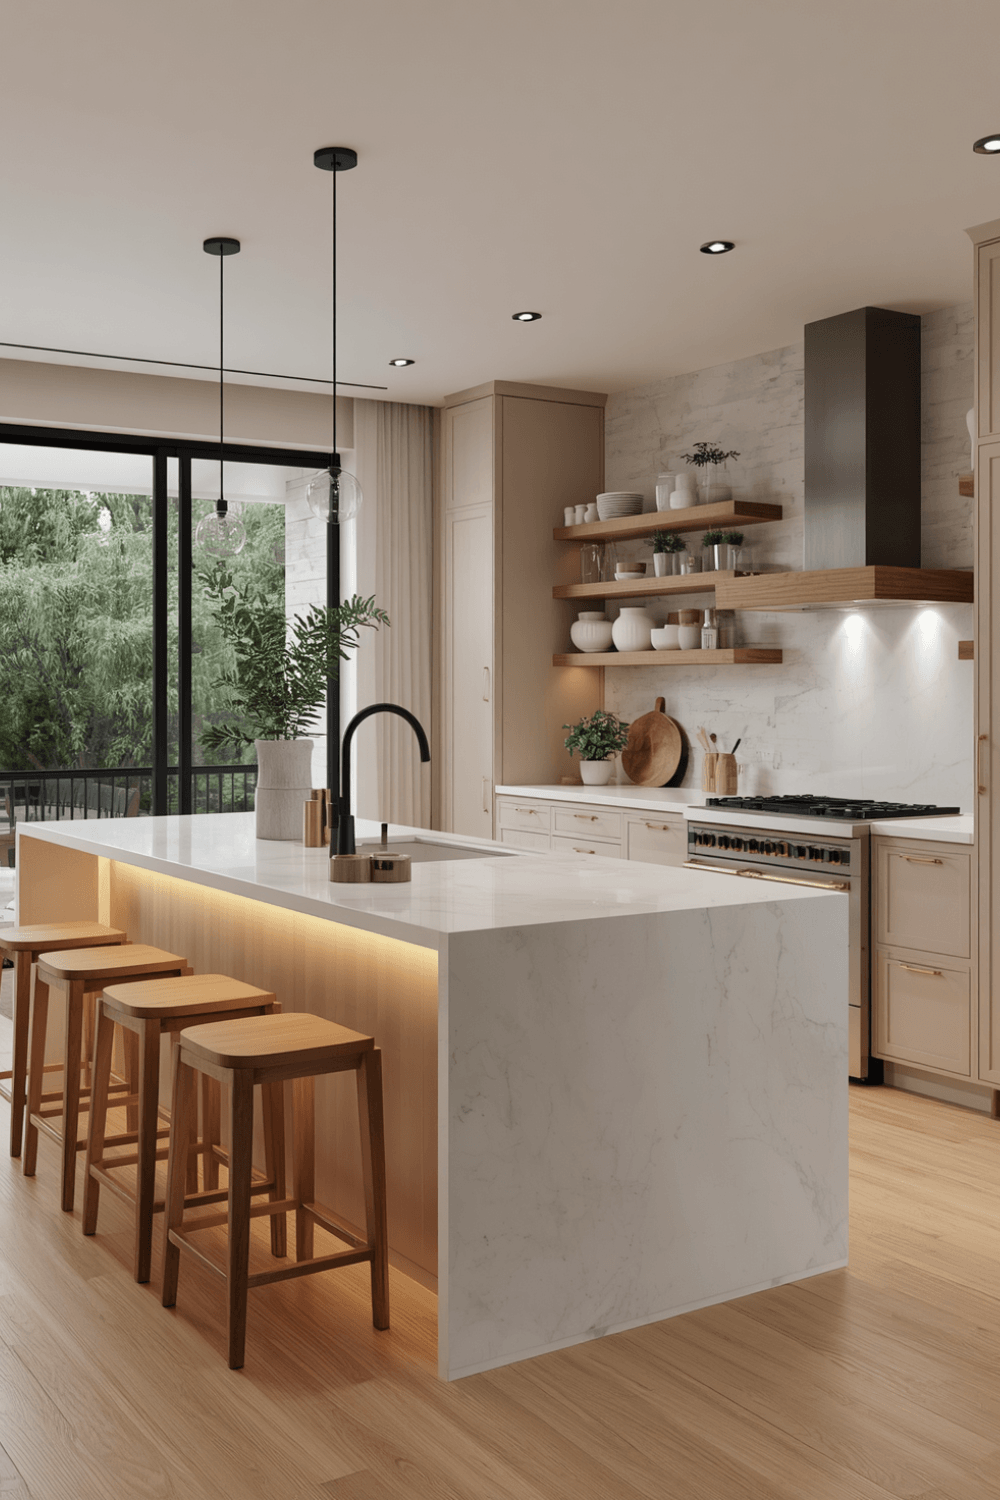
I learned this one from my broader kitchen layout mistakes, but it applies specifically to islands too. At least 42 inches of clearance on all sides is the general minimum, and 48 inches is more comfortable if more than one person regularly works in the kitchen at the same time.
4. Add outlets directly into the island if you’ll use small appliances there
I added two outlets into the side of my island specifically for a stand mixer and my laptop charging setup, since I hadn’t planned for either in my original design and ended up running cords across the floor constantly. Planning electrical needs upfront avoids this kind of awkward retrofit later.
5. Choose a countertop material that matches how hard you’ll actually use it
My island gets heavy daily use for food prep, so I chose quartz specifically for its durability and low maintenance compared to a more porous stone option I was originally considering. If your island will see less direct food prep and more of a display or bar function, a more delicate material might make sense instead.
6. Consider mixed cabinet colors for visual contrast
I painted my island cabinets a deeper navy while keeping my perimeter cabinets a lighter neutral, which made the island read as an intentional design feature rather than just more of the same cabinetry repeated throughout the room. This two-tone approach has become a genuinely popular modern kitchen choice, and it held up well in my own space over time.
7. Plan lighting specifically for the island, separate from general room lighting
I added three pendant lights spaced evenly above my island, on their own separate switch from the rest of my kitchen lighting. This lets me light the island brightly for food prep or dim it down for a softer ambiance during casual use, without affecting the rest of the kitchen’s lighting.
Real Examples From People I Know
A friend with a smaller kitchen used a narrower island without seating at all, focused purely on additional prep space and storage, since her kitchen’s footprint genuinely didn’t allow for comfortable seating clearance. It still added significant functional value without forcing an awkward seating arrangement into too tight a space.
Another friend went bigger with a large island that includes a built-in sink and a dedicated beverage fridge, essentially turning it into a secondary work zone separate from her main cooking area. It required more plumbing and electrical planning upfront, but she says it’s dramatically improved how two people can cook together without constantly being in each other’s way.
Common Mistakes to Avoid
Choosing seating overhang and height without physically testing it. This alone caused my entire original seating redo.
Designing purely around visual appeal without listing actual daily uses. An island usually works harder than any other surface in the kitchen and deserves planning to match.
Skipping electrical planning for small appliances you’ll actually use there. Retrofitting outlets after installation is more disruptive and expensive than planning for them upfront.
Ignoring walkway clearance around the island. What looks fine on a floor plan can feel genuinely cramped once you’re moving around it daily.
Choosing a delicate countertop material for an island that gets heavy daily use. Match your material choice to how hard the surface will actually be used, not just how it looks in photos.
Final Thoughts
My kitchen island taught me that looking good and functioning well aren’t automatically the same thing, and the seating mistake I made cost real time and money to fix after the fact. Testing the actual clearance and thinking through daily use before finalizing the design would have saved me that whole redo.
If you’re planning your own kitchen island, physically test your seating dimensions, list out everything you actually need it to do, and plan electrical and lighting needs upfront rather than retrofitting them later. That combination is really what separates an island that just looks good from one that genuinely earns its spot in the kitchen every single day.