
Modern Curved Wooden Shelves: What I Learned Installing One That Actually Stayed Level
I fell in love with a curved wooden shelf design after seeing one online, ordered a similar piece, and assumed installation would work basically the same way as the straight floating shelves I’d hung before. It didn’t. The curved shape meant weight distributed differently across the mounting points, and my first attempt left the whole piece sitting slightly crooked, tilting just enough to be noticeable and honestly a little annoying every time I looked at it.
It took a proper remount with the right hardware and a much more careful approach before that same curved shelf finally sat level and looked as intentional as I’d originally pictured. Here’s what I learned about the specific challenges curved shelving brings that straight shelves just don’t.
Curved Shelves Need Different Mounting Math Than Straight Ones
With a straight floating shelf, weight distributes evenly along a predictable horizontal line, and standard mounting brackets are designed with that in mind. A curved shelf changes that weight distribution significantly, especially if it’s asymmetrical or has a dramatic arc, which means the mounting approach genuinely needs more thought than just using whatever hardware came in the box.
Once I understood that the curve itself changes the physics of how the piece needs to be supported, my remount turned out completely differently from my rushed first attempt.
My Mistake: Using Standard Mounting Hardware for an Irregular Shape
My curved shelf came with basic mounting hardware clearly designed with a standard straight shelf in mind, evenly spaced screw points assuming even weight distribution. Because my shelf’s curve concentrated more visual and physical weight toward one side, that even spacing didn’t actually support the piece correctly, and it slowly tilted within the first couple of weeks.
I ended up adding an additional mounting point specifically positioned under the heavier curved section, along with a stronger toggle bolt anchor instead of the basic drywall anchors originally included, and the tilting stopped completely.
Step-by-Step: Installing and Styling Modern Curved Wooden Shelves
1. Identify where your curve concentrates the most weight
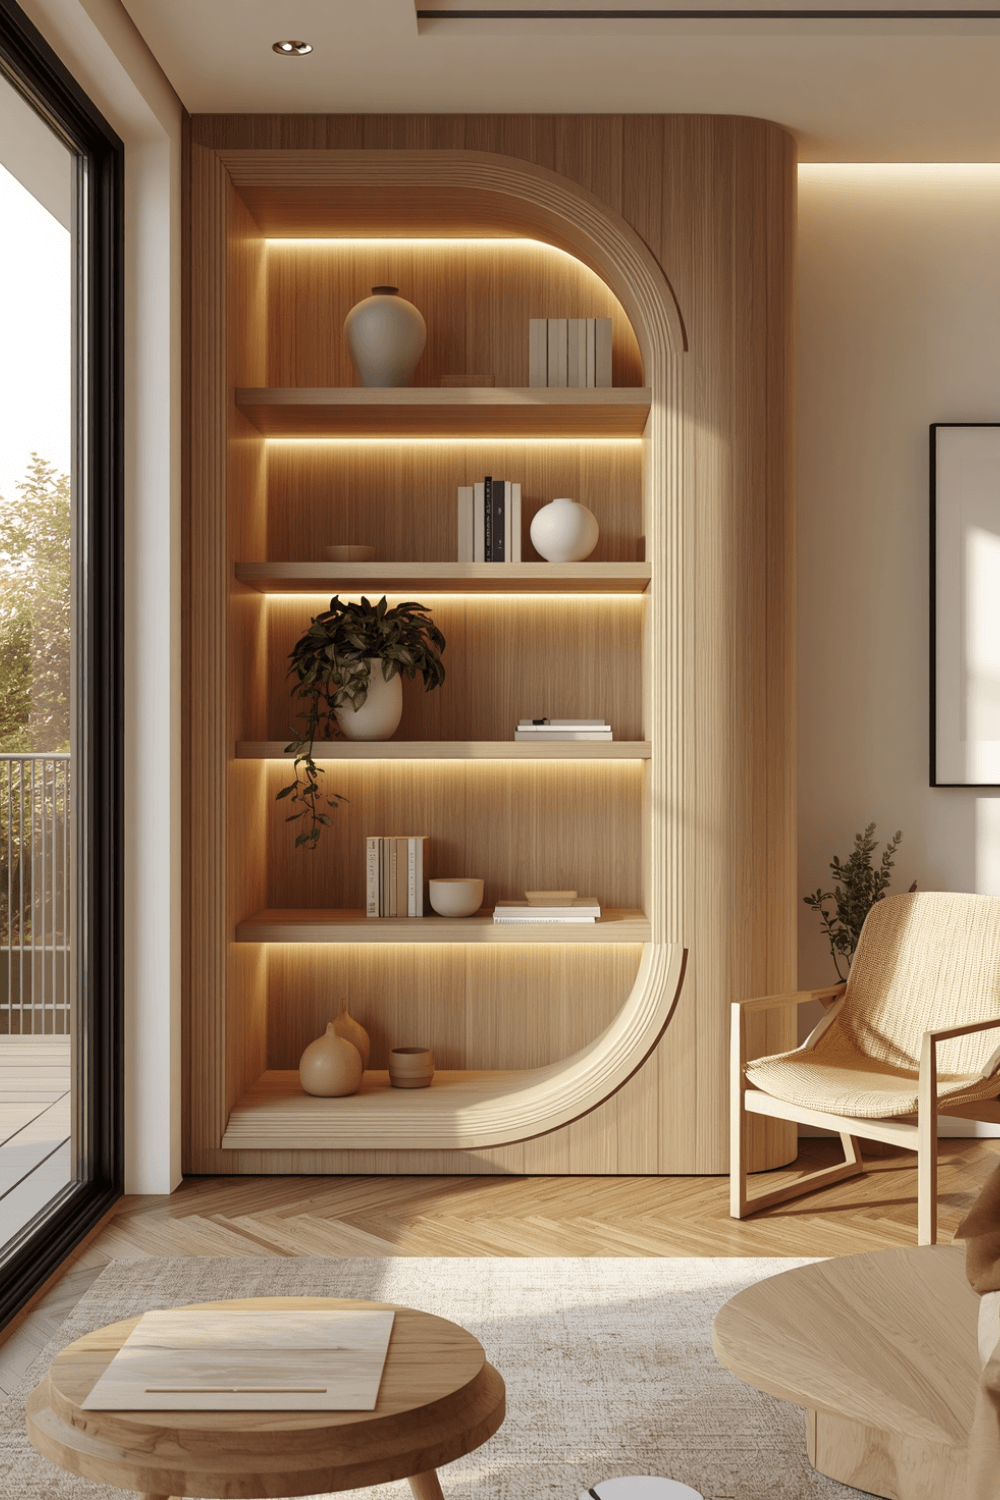
Before mounting anything, I now look at where a curved shelf visually and physically carries the most weight, usually the deepest or widest part of the curve, and plan additional support specifically at that point rather than relying on evenly spaced standard hardware.
2. Use a stud finder and add extra anchor points if needed
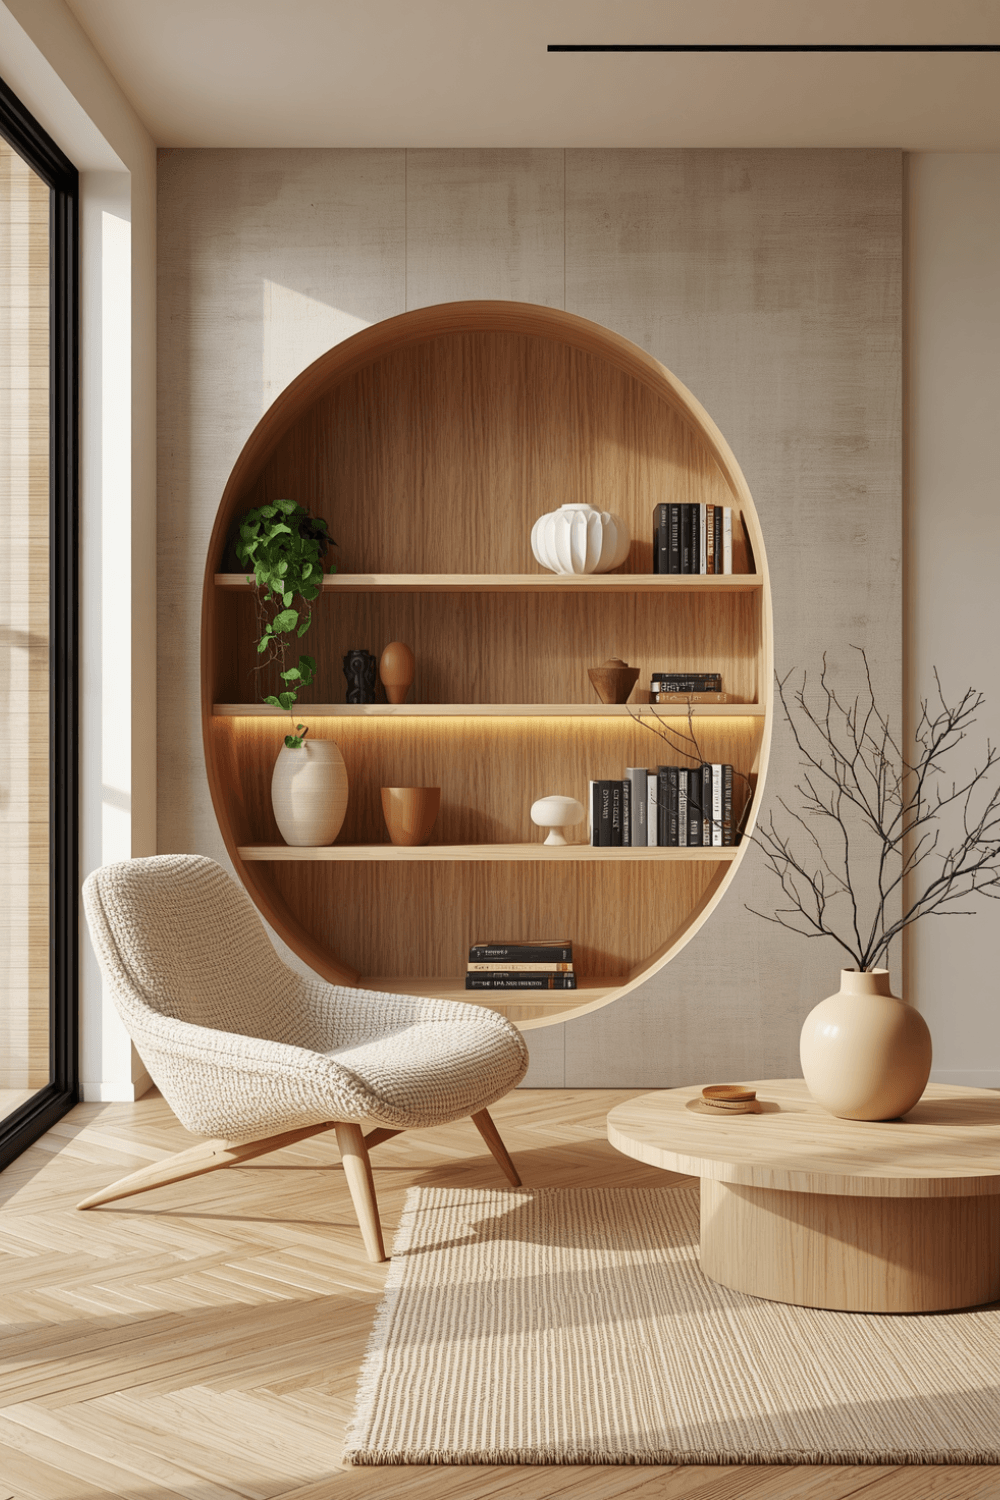
I used a stud finder to locate actual wall studs before mounting, and added an extra toggle bolt anchor at the heaviest point of my curve beyond what the shelf’s included hardware provided. Curved pieces often benefit from one or two more support points than a straight shelf of similar size would need.
3. Level the piece carefully before final mounting
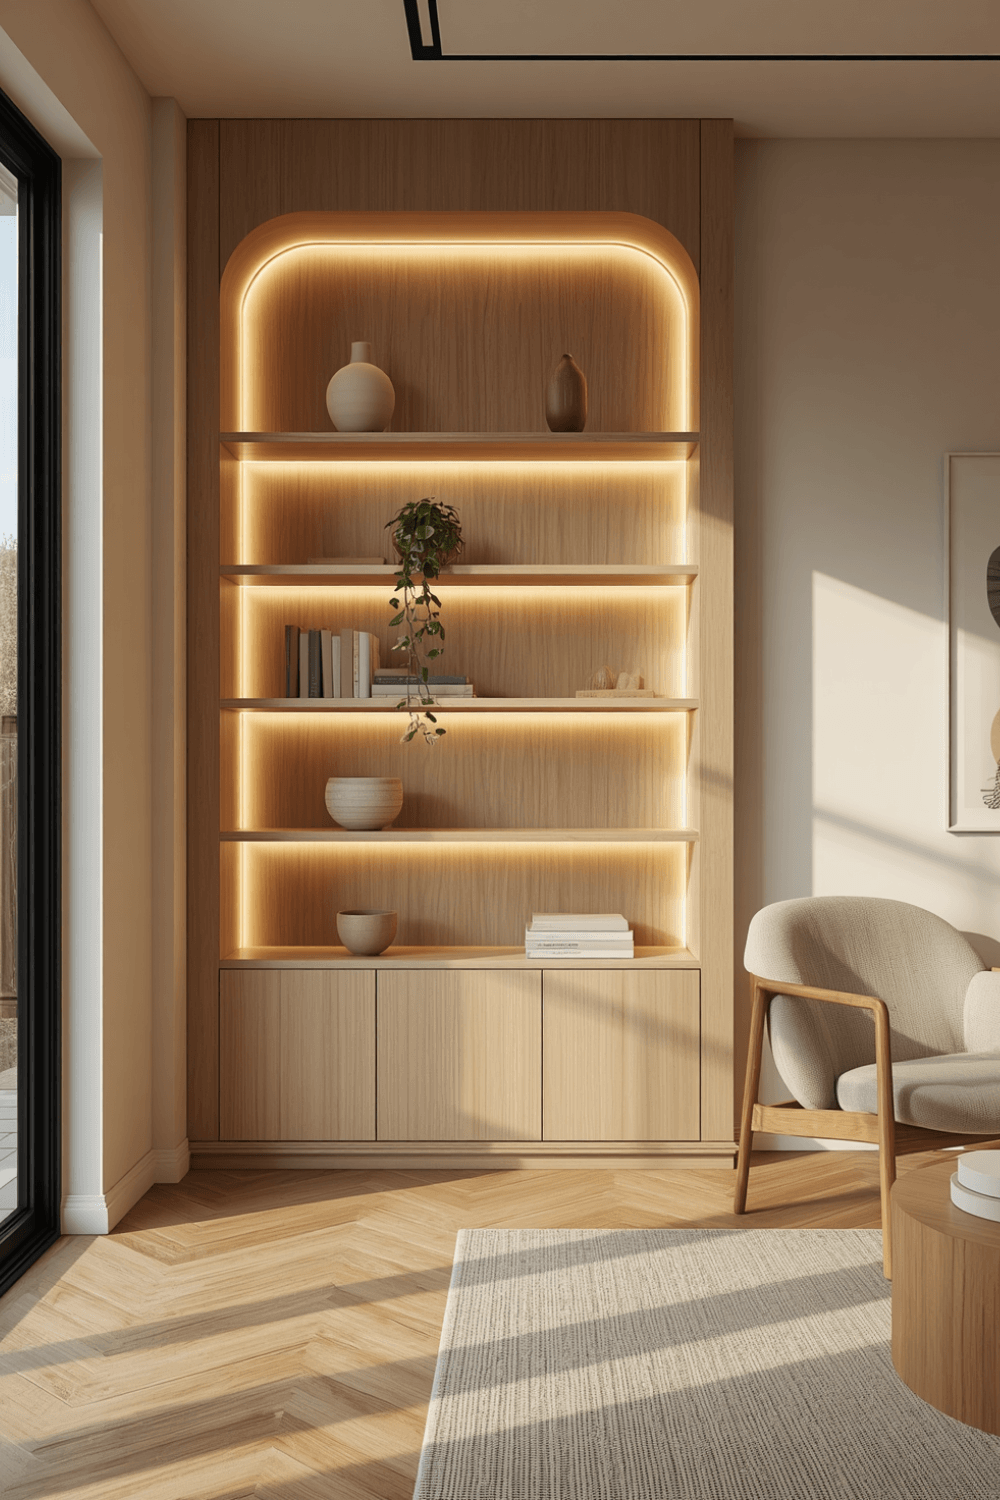
I used a small bubble level specifically at the deepest point of the curve, not just across the overall shelf, since a curved piece can appear level along one edge while still tilting at its heaviest point. Checking level at multiple spots along the curve caught an issue my first quick installation completely missed.
4. Choose hardware rated for more weight than you think you need

I upgraded to anchors rated for significantly more weight than my shelf and its contents actually weighed, specifically because curved pieces put uneven stress on mounting points compared to straight shelves. That extra weight buffer gave me real peace of mind that my original underspecced hardware never provided.
5. Style with the curve’s natural flow in mind, not a straight grid
Rather than arranging items in the evenly spaced, straight-line pattern that works well on a standard shelf, I let my styling follow the natural arc of the curve, taller items toward the deeper part of the curve, smaller pieces tapering toward the ends. That approach felt far more intentional than forcing a straight arrangement onto a curved surface.
6. Consider the shelf’s material and thickness for weight capacity
My curved shelf uses a thicker solid wood construction specifically because thinner curved pieces can flex or warp differently than a straight shelf of the same thickness would. If you’re choosing between options, a slightly thicker curved shelf generally handles weight and maintains its shape better over time than a thin one.
7. Group curved shelves together for a more dramatic visual effect
I eventually added a second, smaller curved shelf below my original one, positioned to create a visual flow between the two pieces. Grouping curved shelves together, rather than mixing them randomly with straight shelving nearby, creates a more cohesive, intentional design statement than a single curved piece surrounded by conventional straight ones.
Real Examples From People I Know
A friend installed a large arched wooden shelf unit similar to a design I’d shown her, and specifically hired a handyman for the installation given the unit’s substantial size and weight. She says it was worth the cost specifically because the curved shape made the mounting more complex than a typical DIY straight-shelf project, and getting it professionally leveled avoided the tilting issue I dealt with myself.
Another friend used a smaller, lighter curved shelf in her home office, choosing a design specifically rated for lighter decorative items rather than heavy books, which let her use simpler mounting hardware without the extra reinforcement heavier curved pieces typically require.
Common Mistakes to Avoid
Using standard mounting hardware designed for straight shelves. Curved pieces often distribute weight unevenly and typically need additional or repositioned support points.
Checking level only at one point along the shelf. A curved piece can appear level at one edge while still tilting at its heaviest section.
Underestimating the weight capacity you actually need. Curved shelves put uneven stress on mounting points, so choosing hardware rated for more weight than seems necessary is a genuinely worthwhile precaution.
Styling a curved shelf with a straight, evenly spaced arrangement. Letting your styling follow the natural arc of the piece tends to look far more intentional than forcing a straight-line layout onto a curved surface.
Choosing an overly thin curved shelf for heavier items. Thinner curved pieces can flex or warp differently than straight shelves of similar thickness, especially under real daily weight.
Final Thoughts
My curved shelf taught me that this specific style of shelving genuinely needs different installation thinking than the straight floating shelves I was used to hanging. The tilting issue wasn’t really about the piece itself being poorly made, it was about applying straight-shelf mounting logic to a shape that distributes weight completely differently.
If you’re installing your own curved wooden shelf, identify where the curve concentrates the most weight, add extra support at that specific point, and check level at multiple spots along the piece rather than just one edge. That extra attention is really what separates a curved shelf that stays level for years from one that slowly tilts within the first few weeks.