Modern Wall Shelf Design: What I Learned After One Fell Off My Wall
I still remember the sound of my first floating shelf crashing to the floor at 2am, taking three ceramic mugs and a plant with it. I’d mounted it myself, confident I knew what I was doing, and completely skipped checking for a stud. Turns out drywall anchors alone don’t hold up a shelf loaded with books and decor for very long.
That disaster kicked off a genuine deep dive into how wall shelves actually work, not just how they look in photos. A few shelves, a stud finder, and one slightly embarrassing trip back to the hardware store later, I finally have a wall shelf setup that’s held strong for over two years. Here’s everything that made the difference.
Modern Wall Shelves Aren’t Just About Looking Minimal
I used to think a good modern shelf just meant a thin, clean-lined floating shelf with a couple of plants on it. What I learned the hard way is that the design only matters if the shelf actually stays on the wall and holds what you put on it without sagging or pulling away over time.
The best-looking wall shelf setups I’ve seen combine that clean, minimal look with genuinely solid mounting and thoughtful styling, not just a pretty shelf slapped up wherever there’s empty wall space.
My Mounting Disaster (And What Actually Fixed It)
My original mistake was mounting a solid wood floating shelf using only the plastic drywall anchors that came in the box, without checking whether I was hitting a stud anywhere. It held for about three weeks before the weight of some books and a small plant pulled it right out of the wall.
I switched to actually using a stud finder (a cheap one from Zircon did the job) and mounted my replacement shelf directly into at least one stud, with a heavy-duty toggle bolt anchor for the other side where there wasn’t a stud available. It’s held everything I’ve put on it since without a single wobble.
Step-by-Step: Designing and Installing Modern Wall Shelves That Actually Work
1. Find your studs before you decide on shelf placement
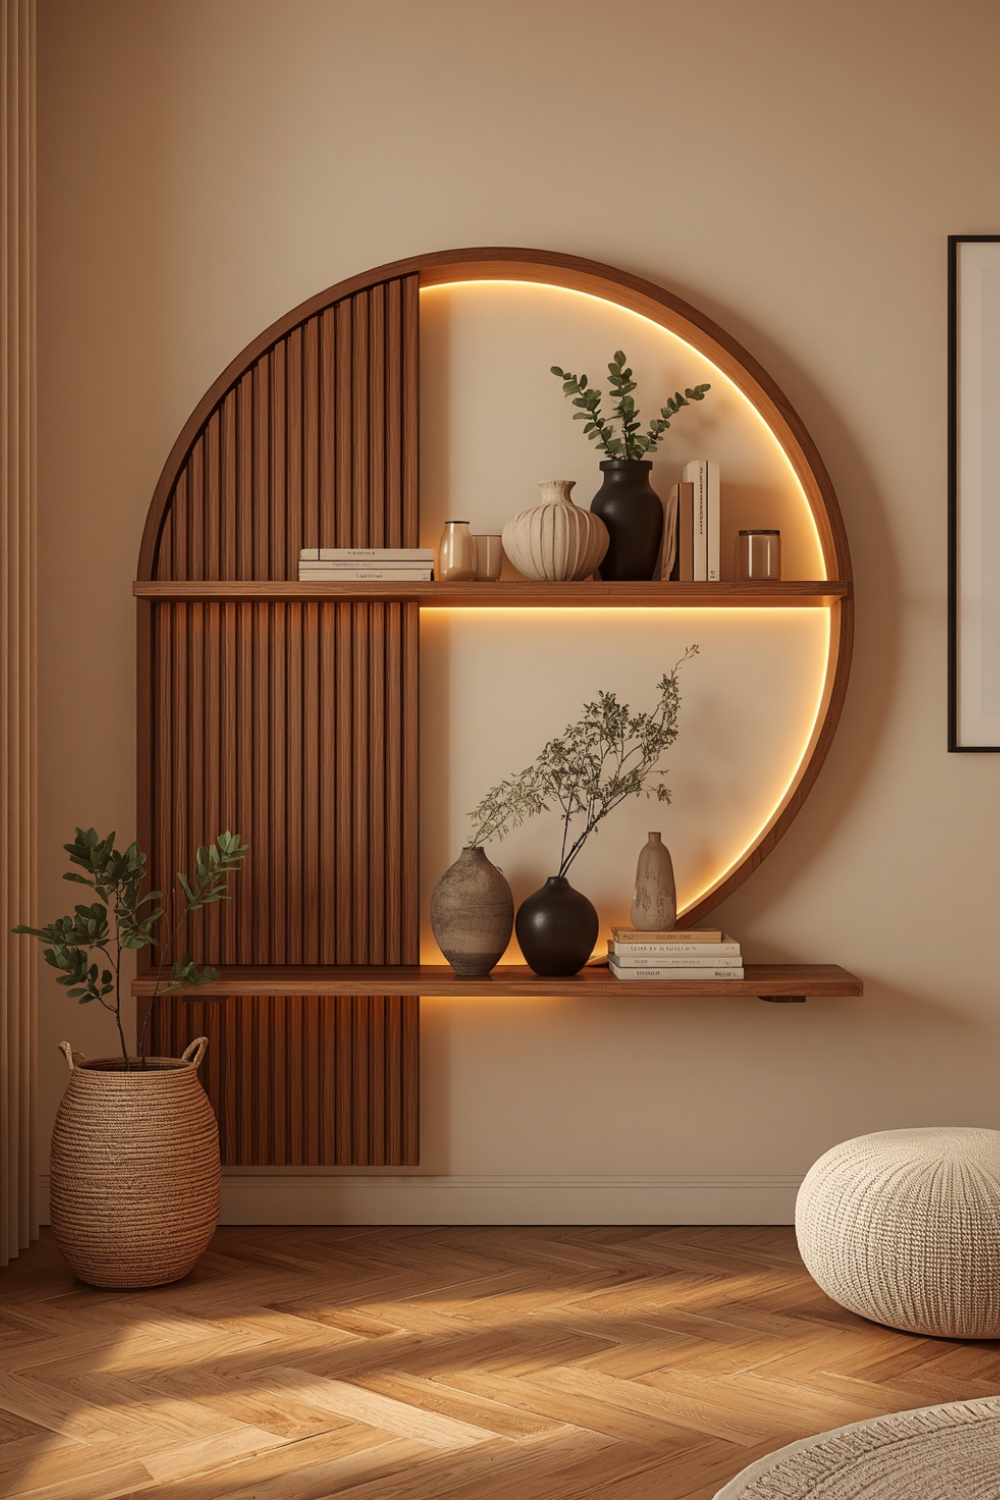
I know this sounds backwards from how most design content approaches it, but I now plan shelf placement around where the studs actually are, not the other way around. A stud finder takes maybe two minutes to use and completely changes what your shelf can safely hold.
2. Match the shelf bracket type to what you’re actually storing
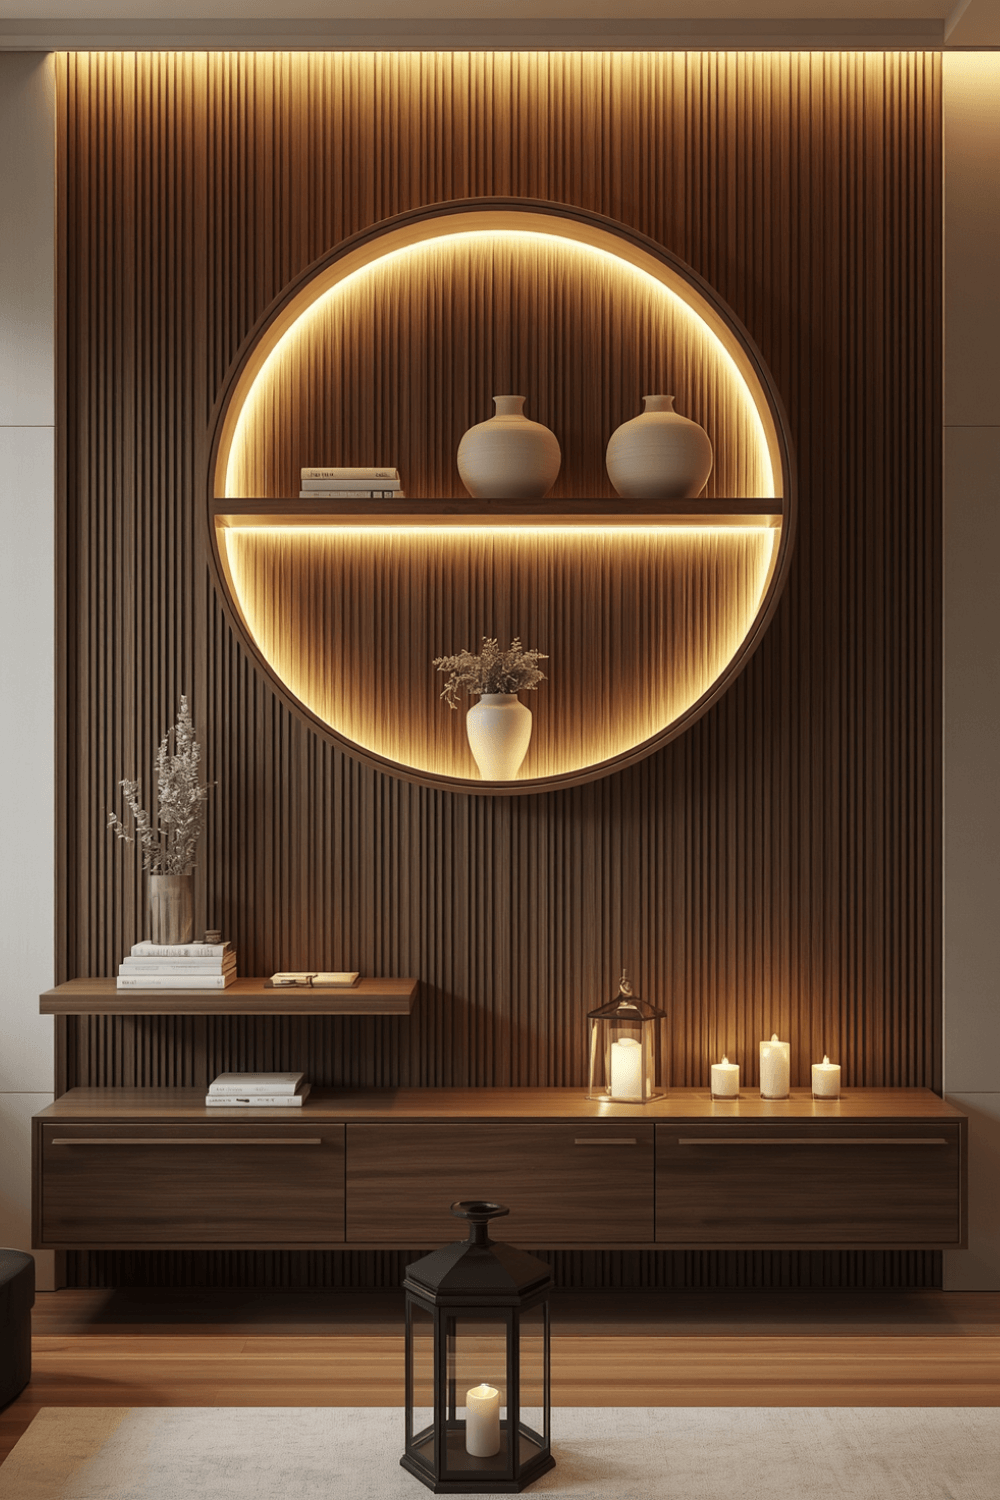
Floating shelves with hidden brackets look sleek, but they typically hold less weight than shelves with visible metal brackets. For my bedroom, where I mostly display small decor, floating shelves work fine. For my home office, where I’m storing actual books, I switched to shelves with visible black metal brackets rated for much higher weight.
3. Stagger shelf heights instead of lining them up perfectly evenly
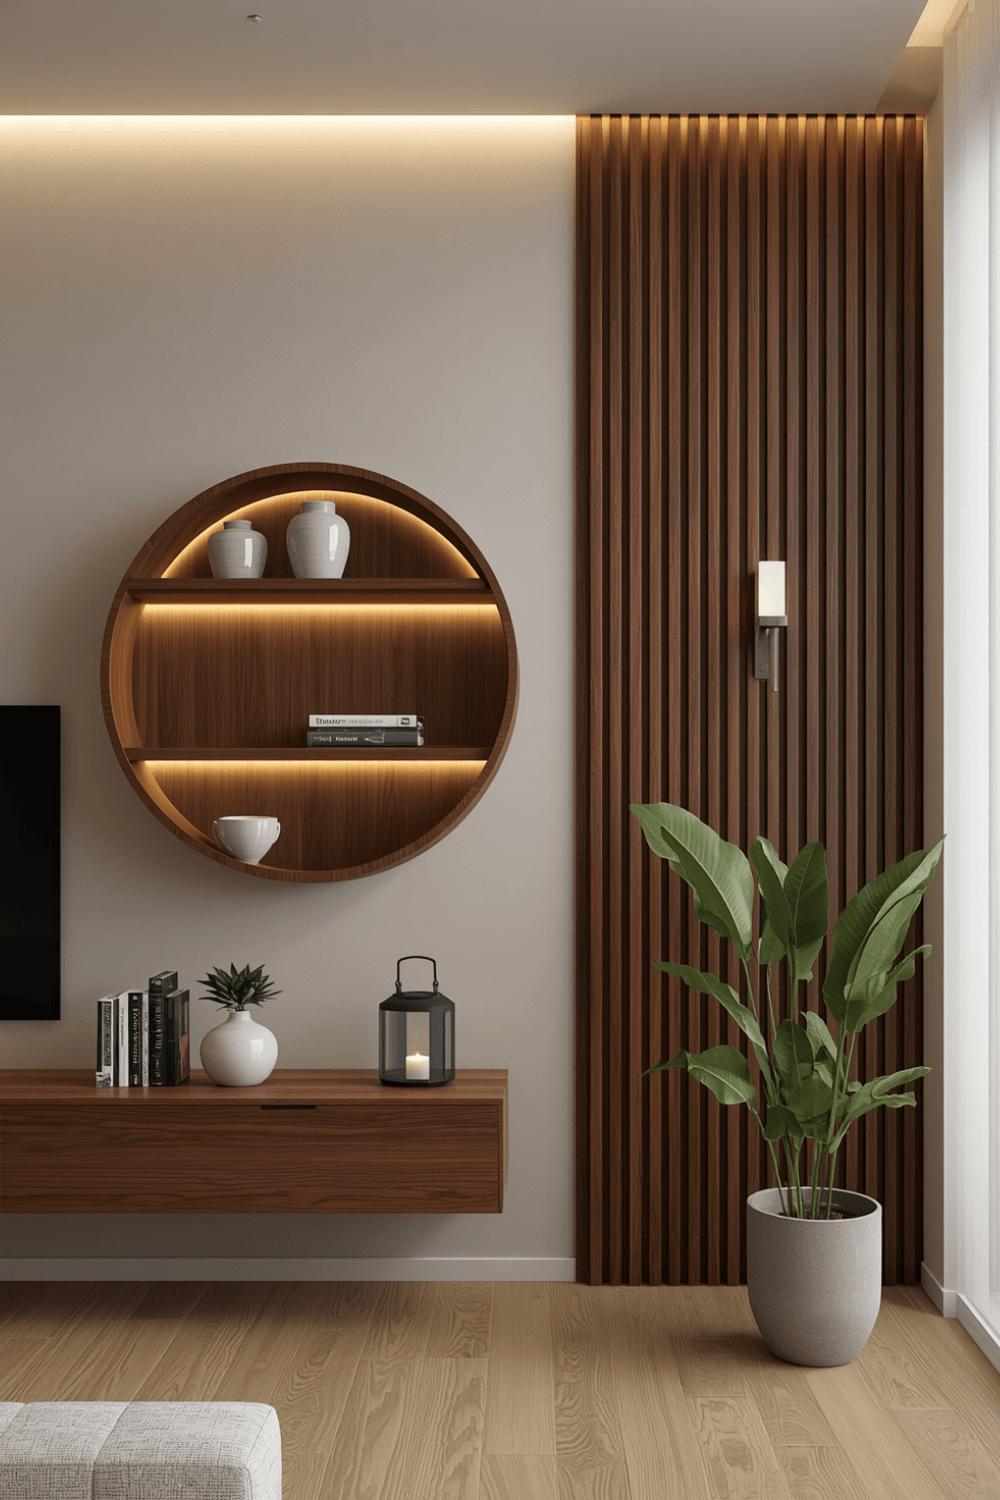
My first attempt used three shelves spaced at exact equal intervals, and it looked stiff, almost like a store display. Staggering the heights slightly, with more visual weight toward the middle, made the whole arrangement feel more intentional and less like a formula.
4. Style shelves in odd-numbered groupings
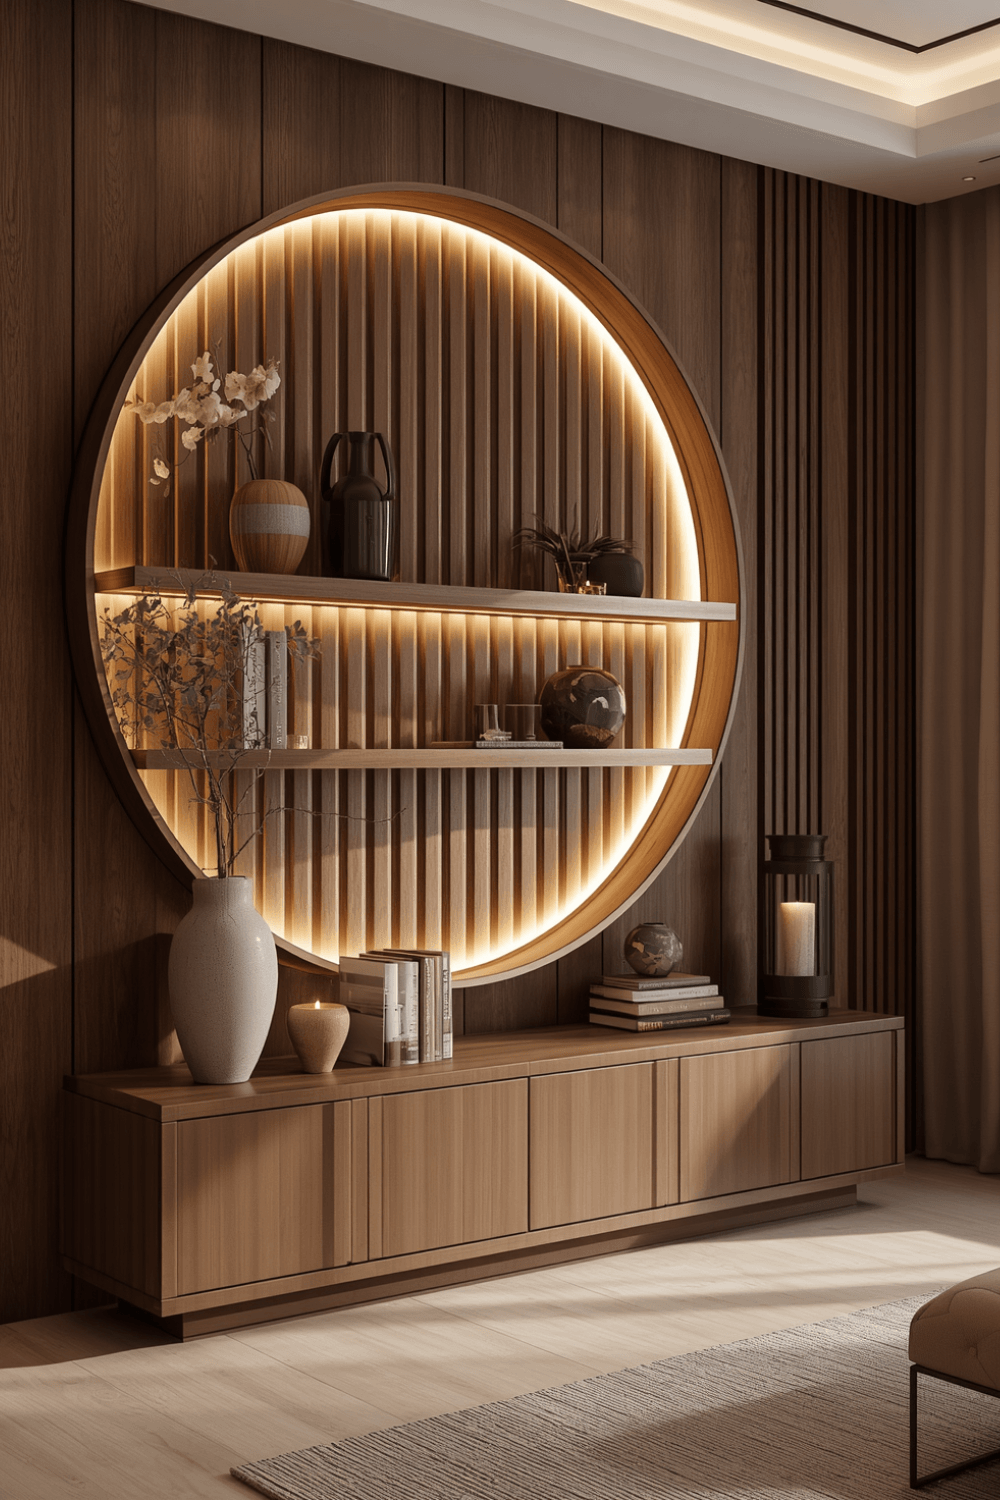
I know this is a pretty common design tip, but it genuinely works. Groups of three items on a shelf, at varying heights, look more balanced than pairs or single centered items. I mix a small plant, a stack of two or three books, and one small decorative object per shelf section.
5. Leave visible negative space, don’t fill every shelf completely
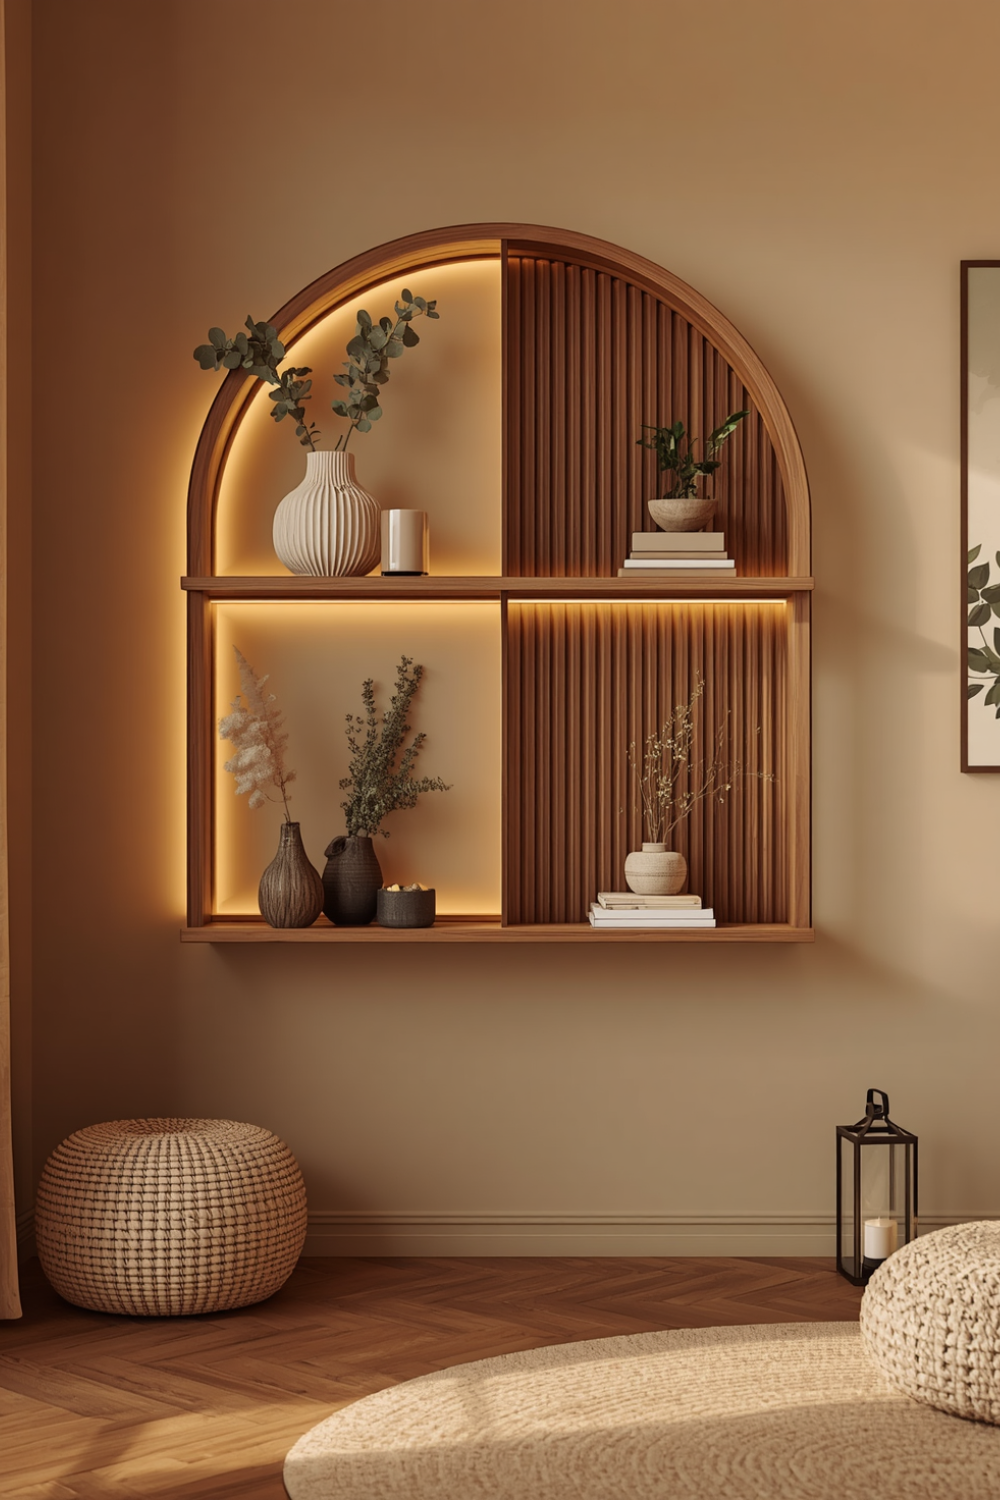
My instinct was to fill every inch of shelf space with something. A friend who works in visual merchandising told me to leave at least 30% of each shelf empty, and she was right. That breathing room is what keeps a shelf display from looking cluttered.
6. Use different materials for visual contrast
I mixed a wood floating shelf with black metal brackets, then added a woven basket and a ceramic vase on top. Mixing wood, metal, ceramic, and woven textures on the same shelf setup adds depth without needing more color or clutter.
7. Consider weight distribution across the whole wall, not just per shelf
This one surprised me. I originally put my heaviest items — a stack of hardcover books — on the top shelf, which is actually more precarious than keeping heavier items on lower shelves. I rearranged so heavier objects sit lower and lighter, more decorative pieces sit higher, both for safety and because it visually grounds the whole arrangement better.
Real Examples From People I Know
A friend built a whole modern shelf wall using IKEA’s Bergshult and Ekby brackets in her living room, mixing in framed art leaned against the wall between shelf sections instead of hanging everything flat. It gave the whole wall a more layered, gallery-like feel instead of a strict row of shelves.
Another friend went with a single long floating shelf above her desk instead of multiple smaller shelves, anchored directly into three studs across the width for extra support. It holds a surprising amount of daily-use items — books, a small speaker, desk supplies — without ever feeling overloaded because everything has a defined spot.
Common Mistakes to Avoid
Skipping the stud finder step. This alone caused my entire original shelf disaster, and it’s one of the easiest things to avoid.
Choosing hidden-bracket floating shelves for heavy storage. They look sleek but usually have lower weight limits than shelves with visible brackets.
Lining shelves up in perfectly even, robotic spacing. Slight staggering almost always looks more intentional and natural.
Filling every inch of shelf space. Some visible negative space keeps the whole display from feeling cluttered or overwhelming.
Putting your heaviest items on the top shelf. It’s both a safety risk and tends to visually unbalance the arrangement.
Final Thoughts
That crashing shelf at 2am ended up being the best thing that could’ve happened to my wall shelf setup, honestly, because it forced me to actually learn how mounting works instead of just focusing on the styling. The look only matters if the shelf stays where you put it.
If you’re planning your own wall shelves, start with a stud finder, choose brackets that match what you’re actually storing, and don’t be afraid to leave some empty space once it’s styled. That balance between solid installation and thoughtful styling is really what makes a modern shelf setup work long-term instead of just looking good for a photo.