
Wardrobe with Dressing Table: What I Learned After Mine Looked Great and Functioned Terribly
I combined my wardrobe and dressing table into one built-in unit during a bedroom renovation, picturing a seamless, efficient setup where getting ready would happen in one convenient spot. What I actually got was a dressing table so close to my wardrobe doors that I couldn’t fully open them without first sliding my vanity stool completely out of the way every single morning.
That daily annoyance sent me back to rethink the whole layout before the combined piece actually became convenient instead of a genuine obstacle course before coffee. Here’s what I learned designing a wardrobe and dressing table combination that actually works together instead of just sitting next to each other.
A Combined Unit Needs More Clearance Planning Than Two Separate Pieces
I initially designed my combined wardrobe and dressing table the same way I might place two separate furniture pieces near each other, without fully accounting for how their functions would actually overlap in daily use. Wardrobe doors need swing clearance, and a dressing table needs stool pull-out space, and I hadn’t planned for both of those needs to coexist in the same tight footprint.
Once I understood that a combined unit’s layout needs to account for both pieces’ clearance requirements simultaneously, not just sequentially, my redesign addressed the problem completely.
My Mistake: Positioning the Dressing Table Directly in the Wardrobe Door’s Swing Path
My original layout had the dressing table stool sitting directly in the arc where my wardrobe doors needed to swing open. Every morning meant an awkward routine of pushing the stool aside, opening the wardrobe, getting dressed, then pulling the stool back to actually sit down and do makeup or hair.
I had the unit reconfigured with sliding wardrobe doors instead of hinged ones, which eliminated the swing path issue entirely and let the dressing table area function independently without any daily furniture shuffling.
Step-by-Step: Designing a Wardrobe With Dressing Table That Actually Functions
1. Choose sliding wardrobe doors over hinged ones for combined units
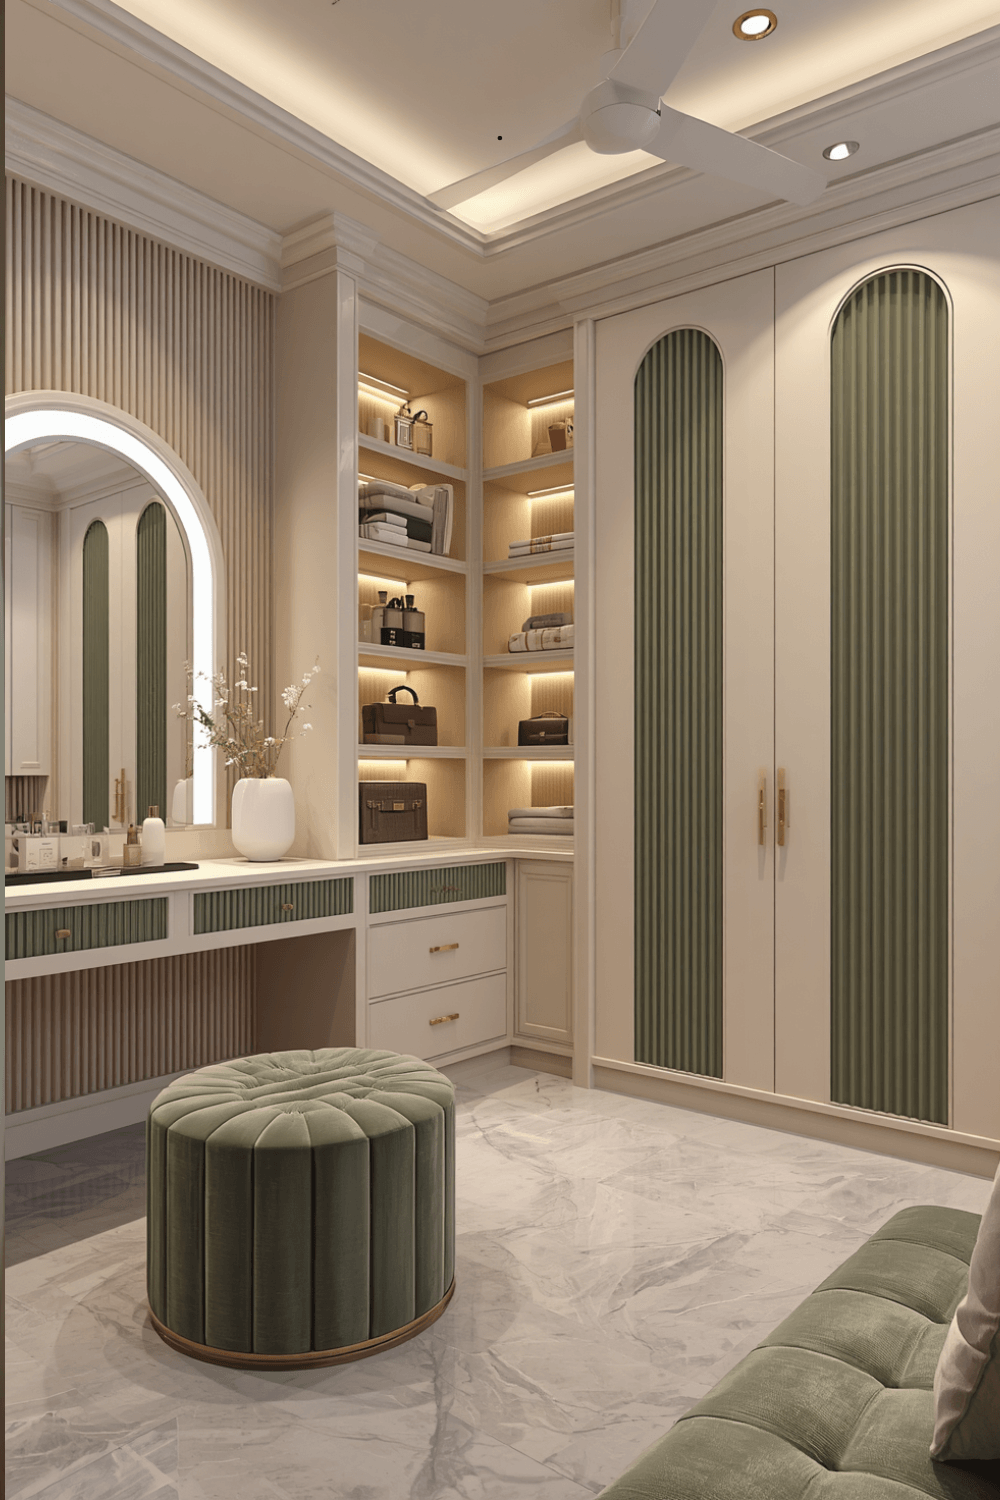 I switched to sliding doors specifically because they don’t require any swing clearance, which freed up the dressing table area to function completely independently. Hinged doors work fine for a standalone wardrobe, but in a combined unit, they often create exactly the kind of clearance conflict my original design ran into.
2. Position the dressing table stool with its own dedicated pull-out space
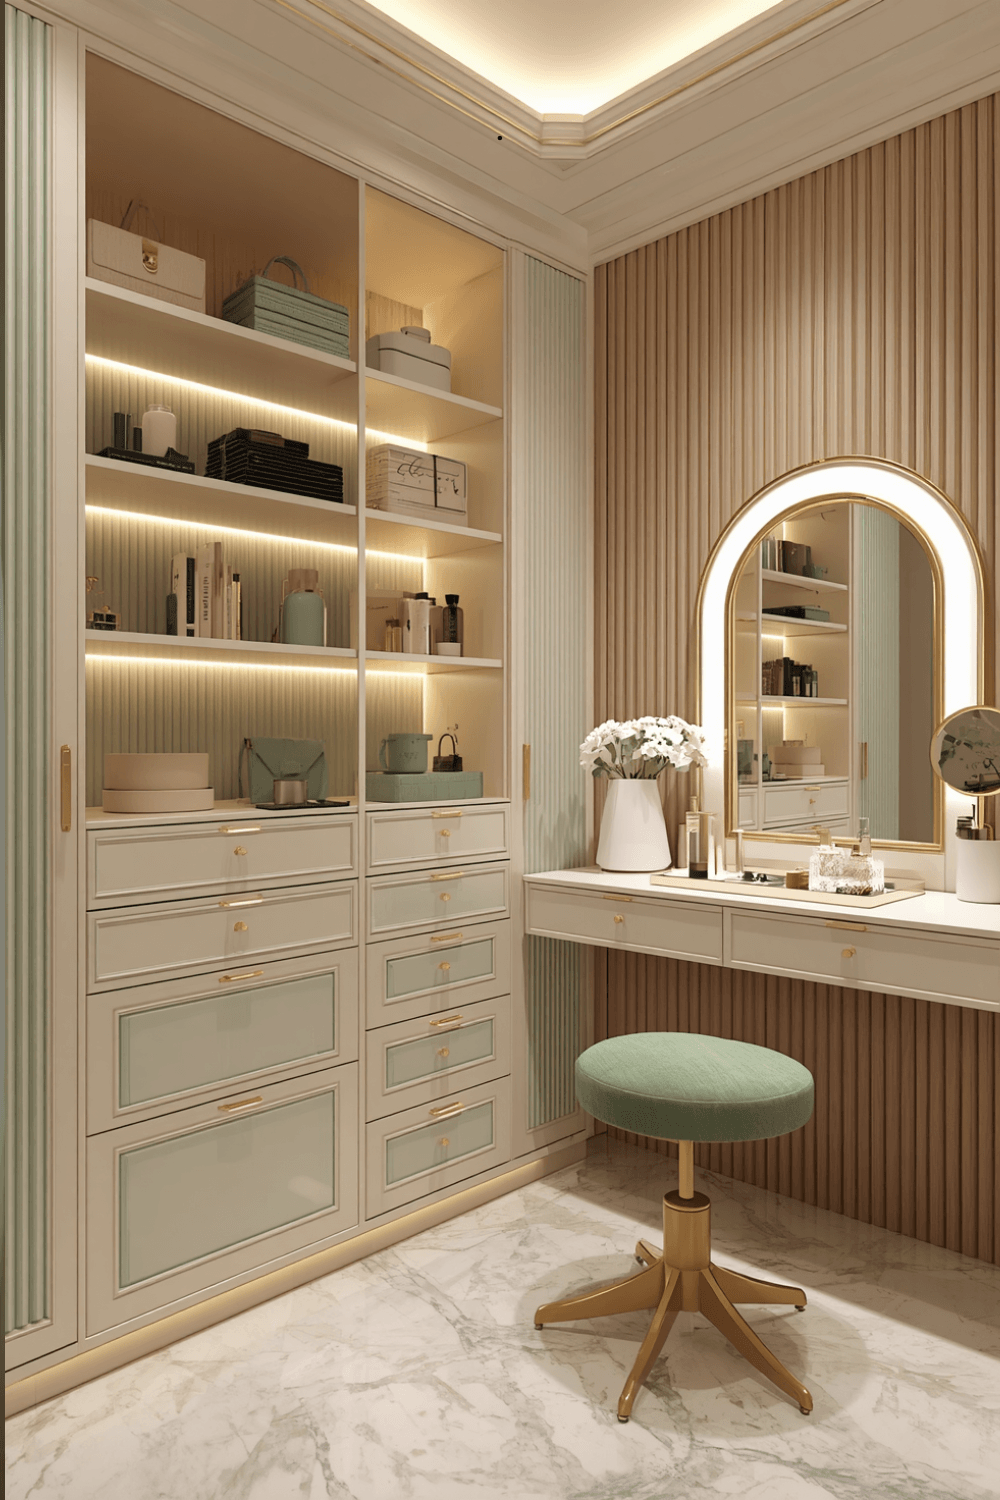 I measured out enough clearance behind my stool specifically for it to be pulled out and sat in comfortably, separate from any wardrobe access path. That dedicated space meant I never had to think about the two functions competing for the same floor area.
3. Add dedicated lighting for the dressing table area specifically
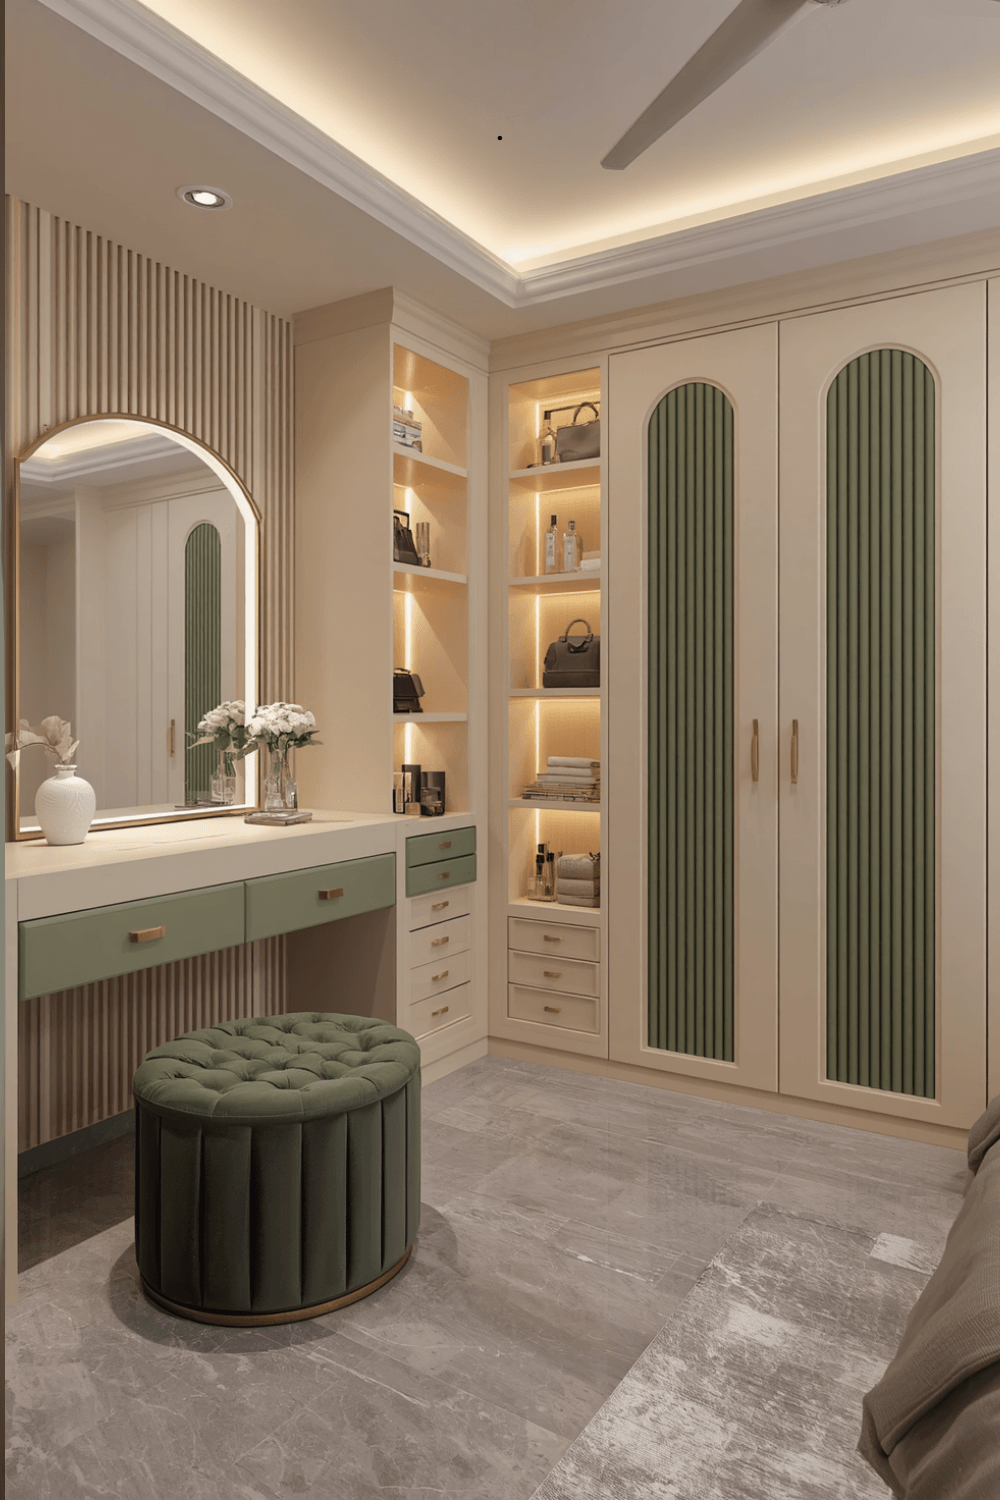 I installed a lighted mirror with adjustable warm and cool settings above my dressing table section, separate from the wardrobe’s own interior lighting. Getting ready actually requires different lighting needs than simply seeing into a closet, and treating them as one lighting solution left my original setup underlit for actual makeup application.
4. Keep wardrobe storage and dressing table storage genuinely separate
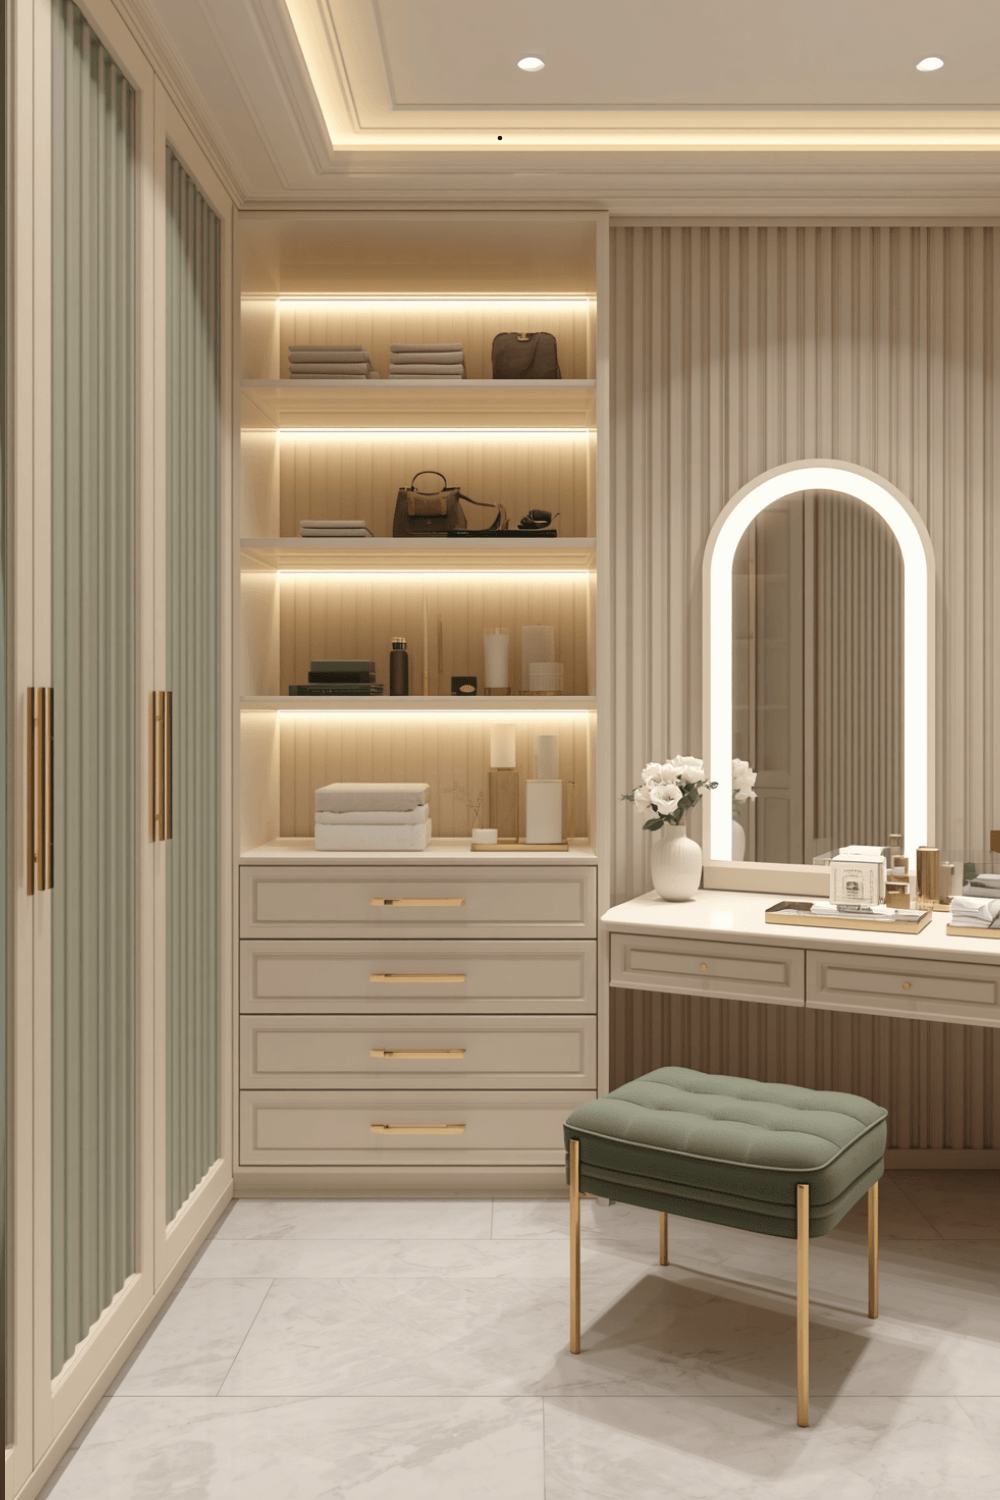 I organized my daily-use dressing essentials, jewelry, skincare, hair tools, into drawers specifically built into the dressing table section, rather than mixing them into general wardrobe storage. That separation meant everything I actually reach for each morning stayed in one consistent, easily accessible spot.
5. Choose a mirror size proportional to the dressing table, not the whole wall
My original mirror was oversized relative to the actual dressing table surface beneath it, which looked slightly unbalanced once the unit was finished. Sizing the mirror to genuinely match the width of the table surface below it created a more intentional, cohesive look for that section of the combined piece.
6. Consider a fold-down or extendable table surface for tighter spaces
A friend with less available floor space used a dressing table surface that folds flat against the wardrobe when not in use, which reclaimed significant floor space for the rest of her bedroom. It’s a genuinely useful option if your combined unit needs to fit into a tighter footprint than mine did.
7. Test the full daily routine before finalizing the layout
I now actually walk through a full morning routine, opening wardrobe doors, sitting at the dressing table, standing back up, before finalizing any combined furniture layout. That physical walkthrough would have caught my original clearance problem before it became a daily frustration I lived with for months.
Real Examples From People I Know
A friend built her combined unit with the dressing table positioned perpendicular to her wardrobe rather than directly adjacent to it, which completely avoided any clearance overlap between the two functions from the start. It required slightly more total floor space, but eliminated the kind of conflict my original parallel layout created.
Another friend added a wardrobe with a fully sliding dressing table that tucks completely inside the unit when not in use, essentially hiding the vanity function entirely until she needs it. It’s a more involved custom build, but she says it keeps her bedroom feeling clean and uncluttered on days she doesn’t need the dressing table at all.
Common Mistakes to Avoid
Positioning the dressing table directly in a hinged wardrobe door’s swing path. This alone caused my entire original daily frustration with the combined unit.
Treating wardrobe lighting and dressing table lighting as the same solution. Getting ready genuinely requires different, more focused lighting than simply seeing into closet storage.
Mixing daily dressing essentials into general wardrobe storage. Keeping them separate in dedicated dressing table drawers makes your actual morning routine noticeably more efficient.
Choosing a mirror size disconnected from the dressing table’s actual proportions. An oversized or undersized mirror relative to the table surface can throw off the whole section’s visual balance.
Finalizing a layout without physically walking through your actual daily routine first. A simple walkthrough test can catch clearance conflicts before they become permanent daily annoyances.
Final Thoughts
My combined wardrobe and dressing table taught me that merging two functions into one piece genuinely requires planning for both sets of clearance needs simultaneously, not just placing two furniture functions near each other and hoping they coexist. The sliding door switch alone eliminated the daily frustration that my original hinged-door layout created.
If you’re designing your own wardrobe with dressing table, consider sliding doors to avoid clearance conflicts, keep the two storage functions genuinely separate, and physically walk through your actual morning routine before finalizing the layout. That combination is really what separates a combined unit that saves you time from one that just adds a daily obstacle course to your routine.